
First, print and of letters onto some heavy duty card stock (Also, ignore the fact that the first four letters aren't in order. They're all there. I promise.).

|
| Yes, I know C and D come after A and B. I'm not dumb, I swear. |

|
| Feel free to be less fancy and use regular old scissors! |

Go and grab yourself some clear contact paper.
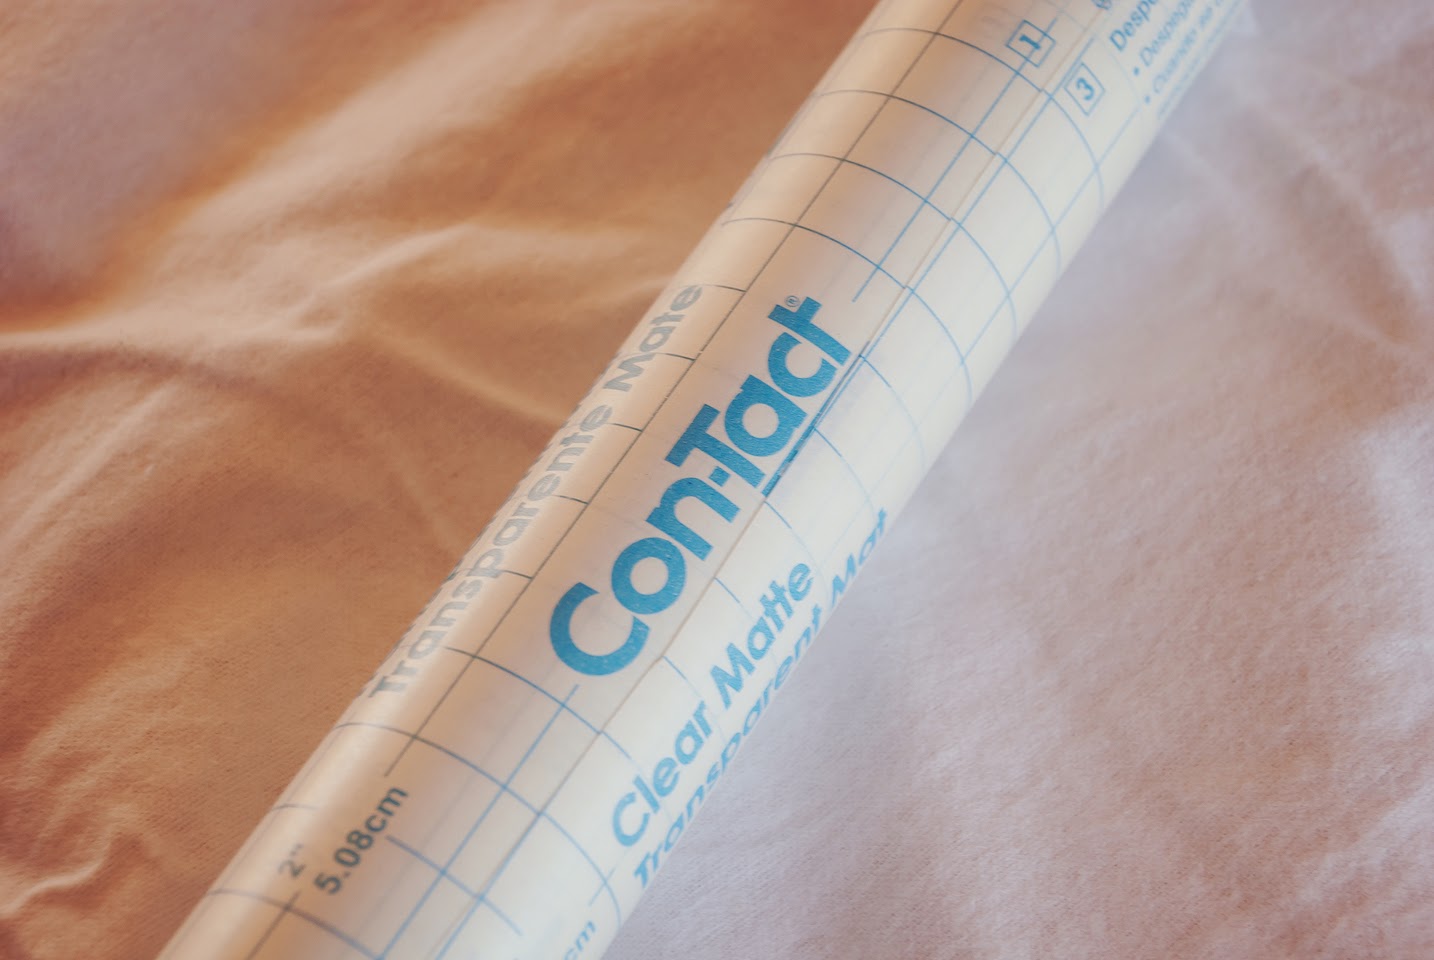
Roll yourself out a sheet large enough to lay out all of your letters on, then lay them printed side down on the Contact paper and press down lightly.
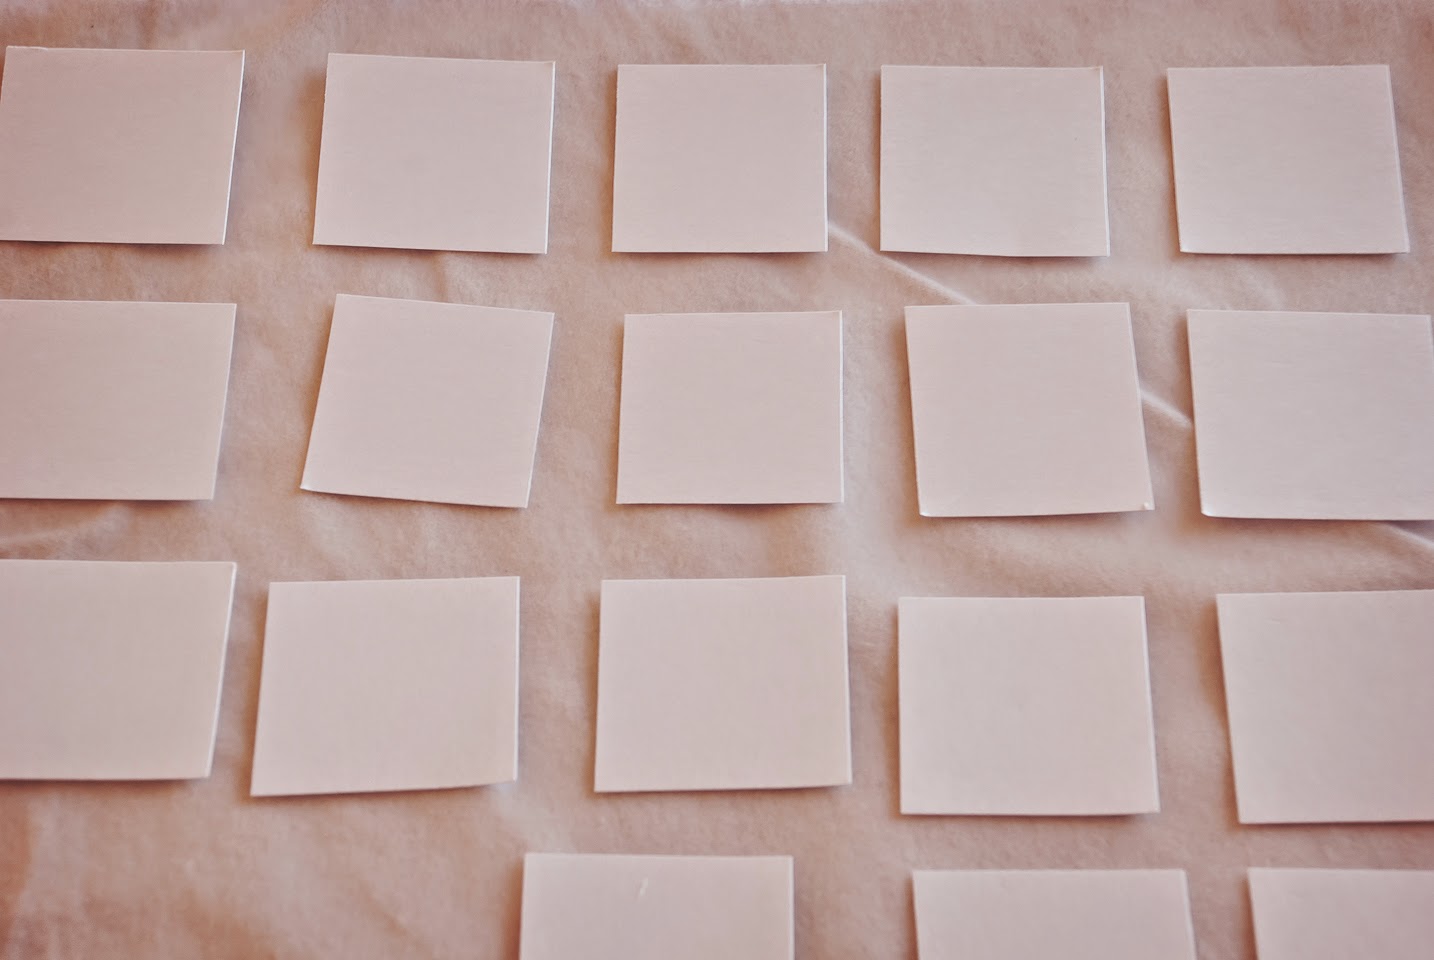
After you've layer out all of your letters, cut yourself a second piece of contact paper, roughly the same size as the first. Peel off the backing paper and lay it sticky side down on top of the first piece. Then find a rigid surface (I used a pan scraper. A rubber spatula, a quilting ruler, or something else along those lines would all work similarly.) and smooth out your contact paper first on one side.

And then the other. Make sure there are no air bubbles.

After everything's all nice and smooth, use your paper scissors and cut out all of your freshly laminated letters. I like to leave a little Contact paper border, but you don't have to.

Lastly, admire your handiwork!
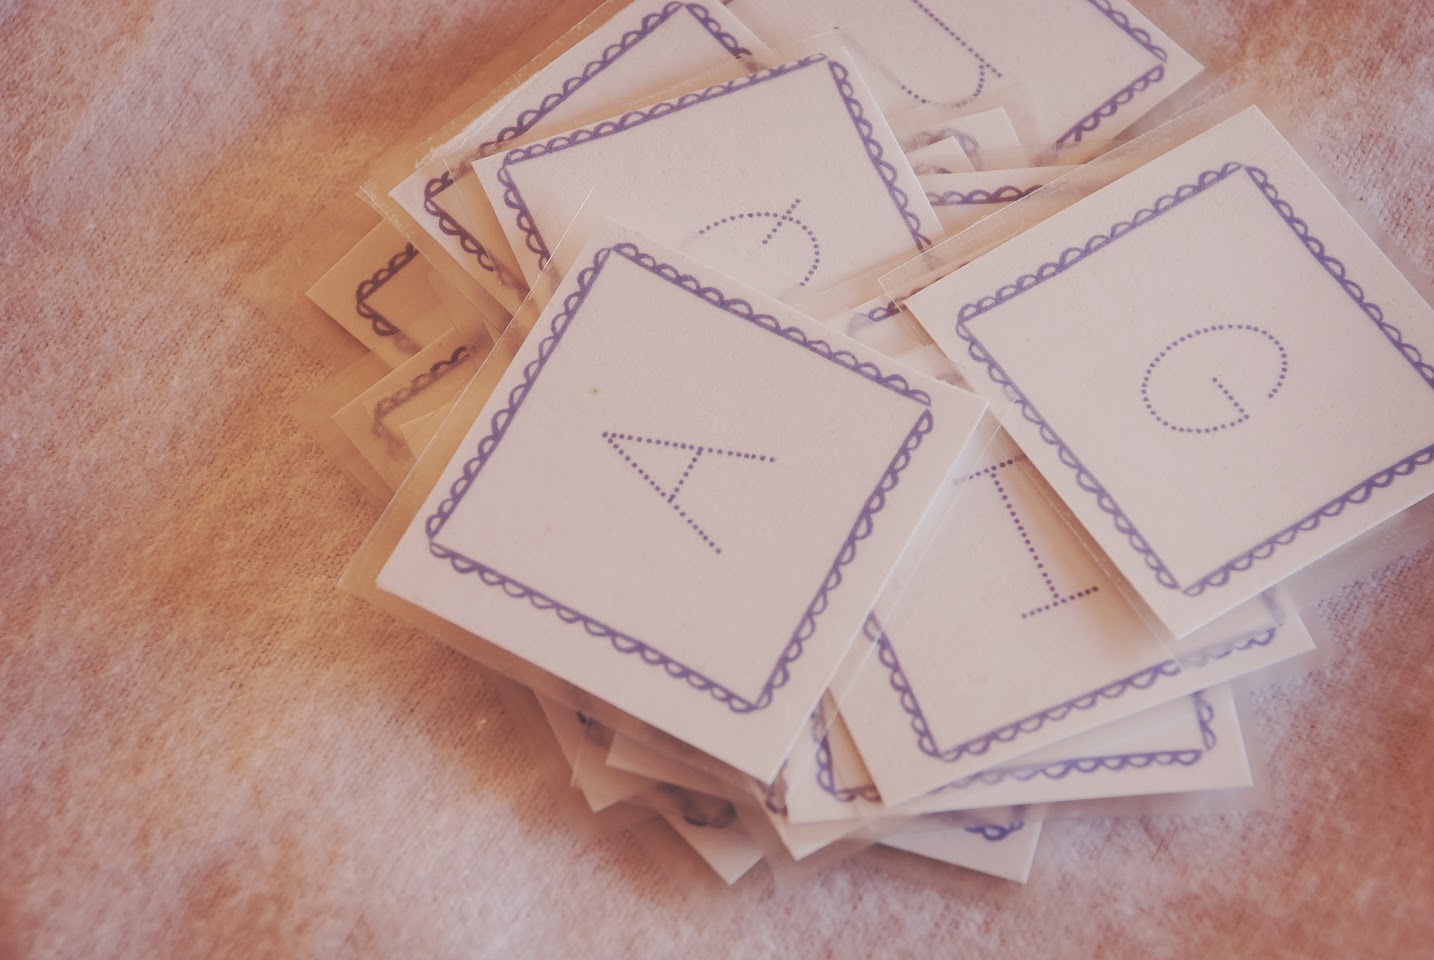
Now you've got these sweet little letters to label all your quilty pieces! Now go get to work ;)
Happy quilting!!!
This is a great idea Pamela. I've never thought to use contact paper to laminate. Thank you for sharing and also for reaching out on IG... Hugs girl!
ReplyDeleteOnce I get them made, how do I use them?
ReplyDelete