
A few years ago, I had the *brilliant* idea that I was not only going to have a successful career as a newborn photographer, but I was also going to be a prop vendor to other newborn photographers. That's actually how this whole blog of mine got started. After seeing other photographers in the industry cut up antique quilts to use as basket stuffers, and knowing the hours of work that had gone into that quilt (the one in question was a hexie quilt!!!), I decided that I needed to prevent this from happening. And thus Sweet Little Stitches was born. I was going to produce small quilts for newborn photographers to use in their sessions.
This was a TERRIBLE idea. Not that having quilts as props was a terrible idea. But newborn props generally get pooped and peed on (the babies are typically naked), and I was making heirloom quality quilts. The cost of materials alone made it impractical, and I wasn't going to make enough money to make it worth my while. After some serious health issues, I ended up abandoning the idea entirely. My long term goals never involved becoming a prop vendor anyhow.
But one quilt I designed stood out from all the others, and I had been itching for a reason to make another.
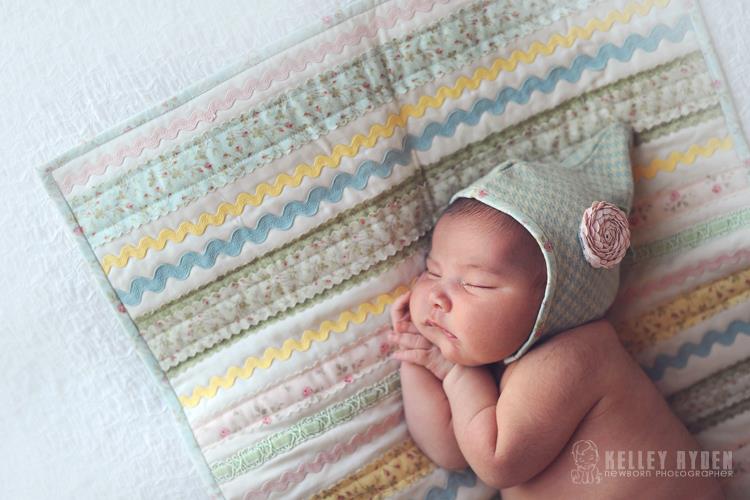 |
| Photo credit: Kelley Ryden |
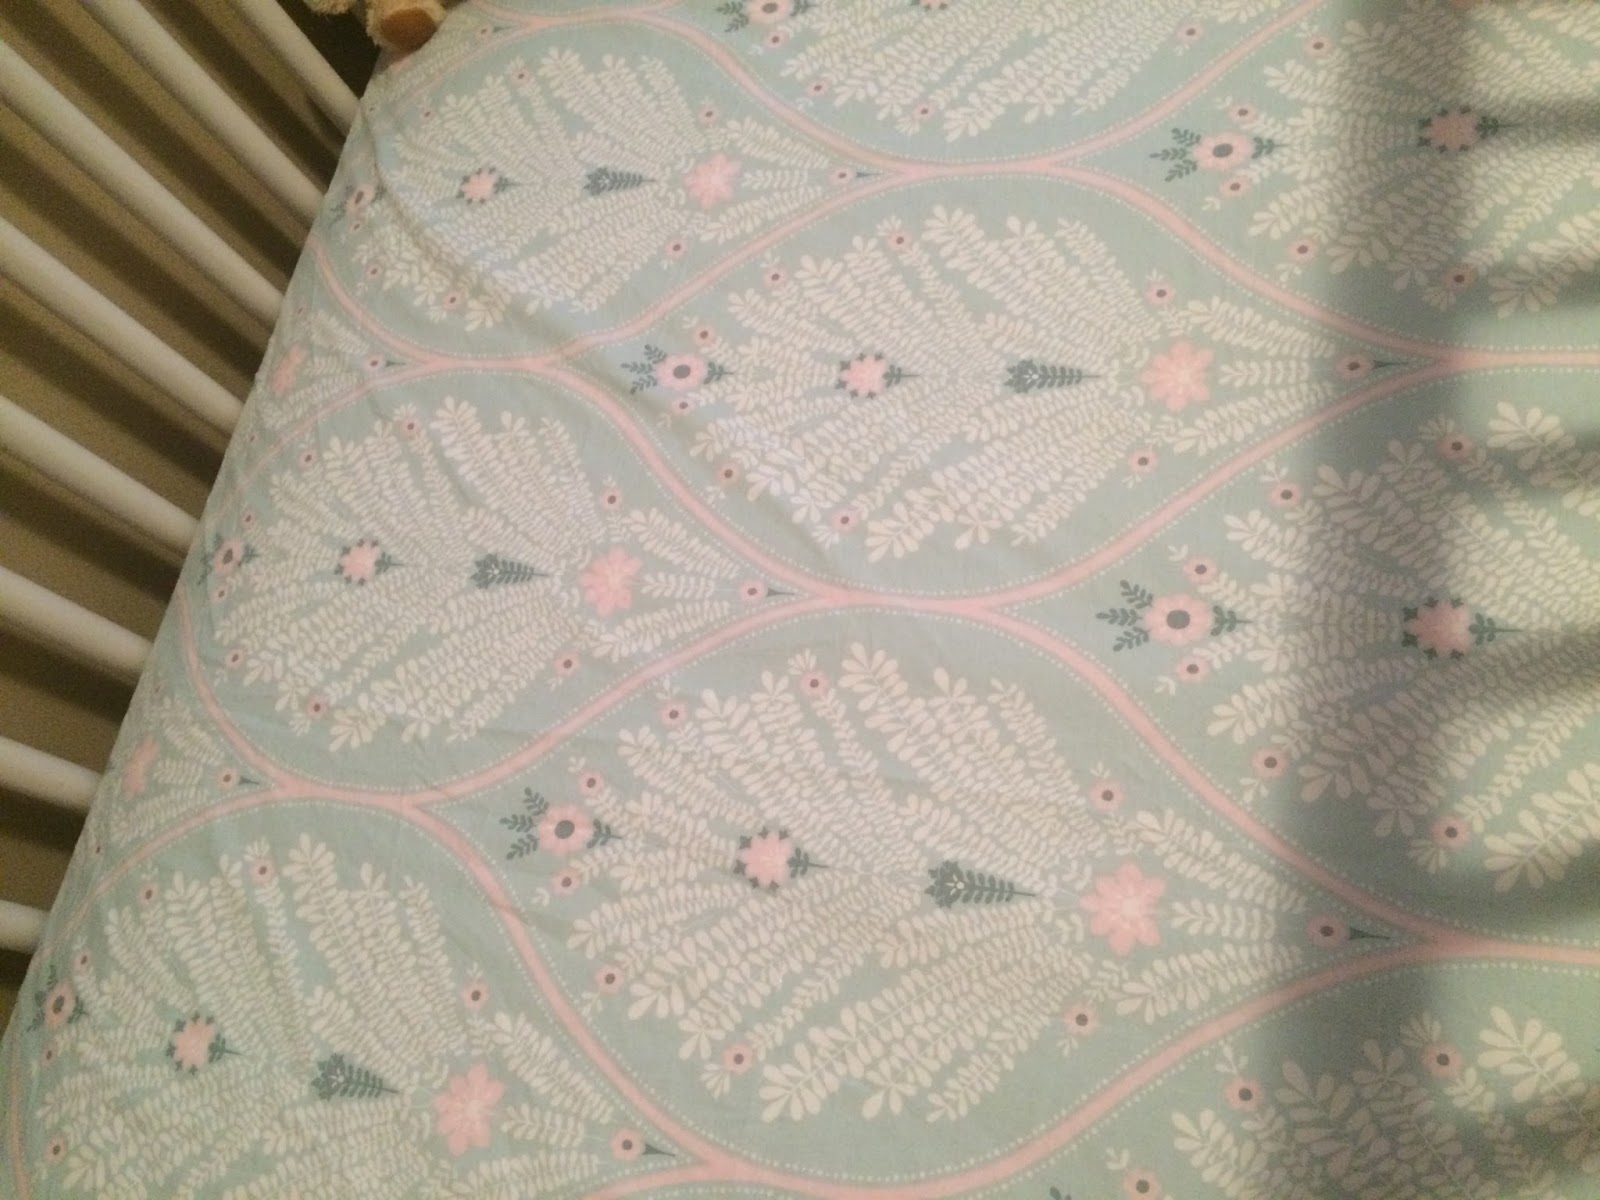
When I found out a friend of mine was having her long-awaited first baby (A GIRL!), and then I saw this picture of her crib bedding, I knew I had a recipient for another version of this quilt.
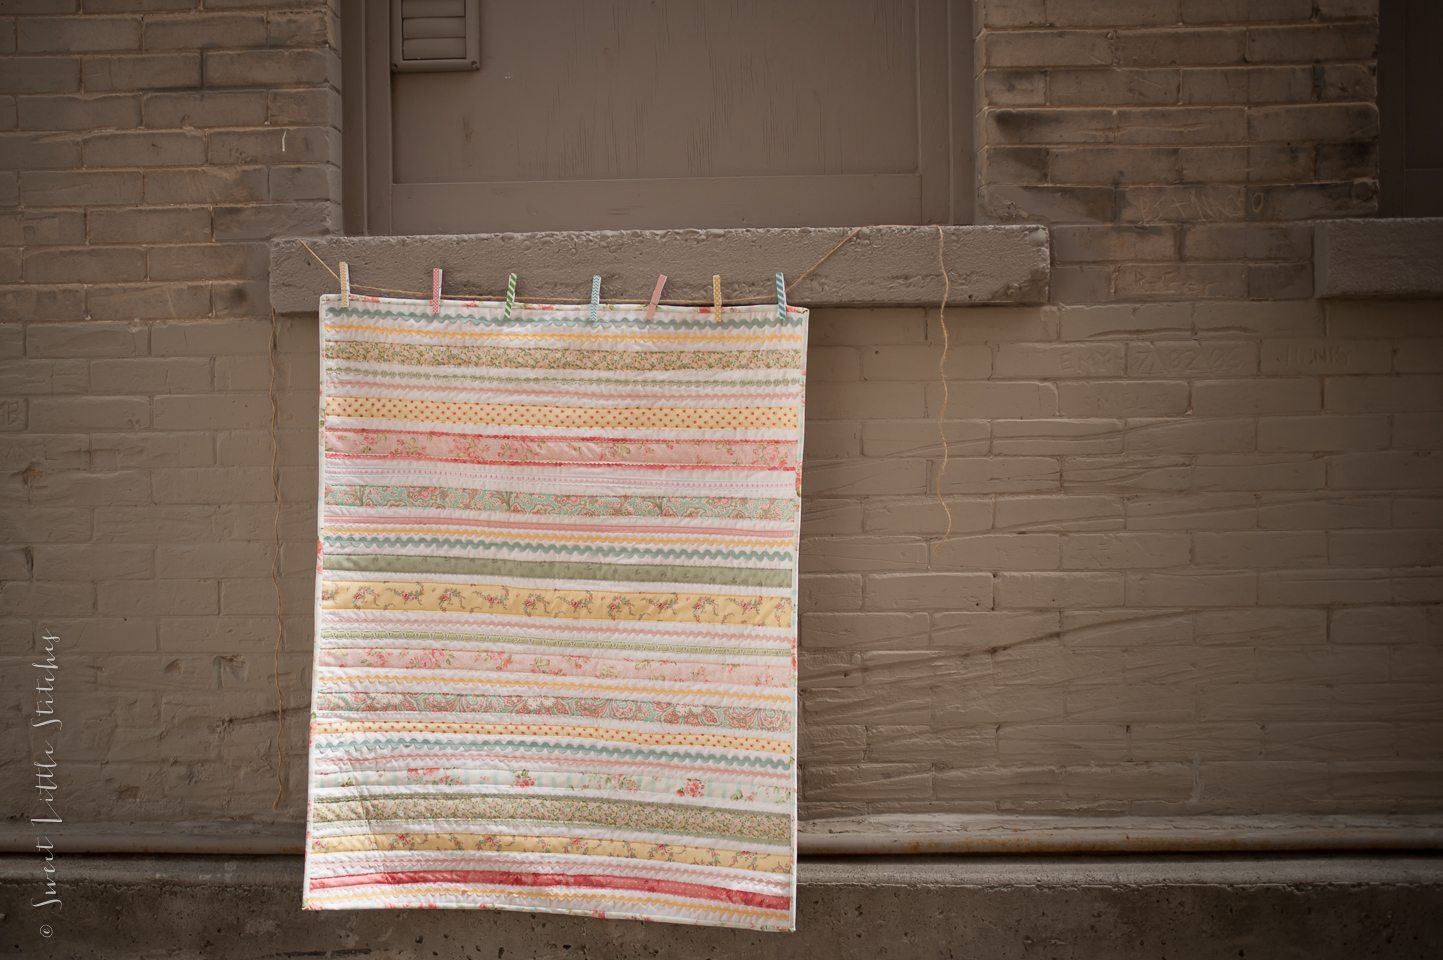
The colors remind me of French macarons, and the name of the fabric line I used in the original quilt is called Paris Flea Market. To top it all off, the recipients of this quilt used to live in Paris, France! So I've dubbed this the French Macaron Quilt.
I ended up creating a step-by-step tutorial, so you can make your own. It's quilt-as-you-go, and this quilt finishes at 32x40 - the perfect size for a new baby to snuggle on. It goes together quickly; this quilt can be made from start to finish in one weekend, and it's easy enough that even a beginner can make it. Not to mention, it's just plain adorable!

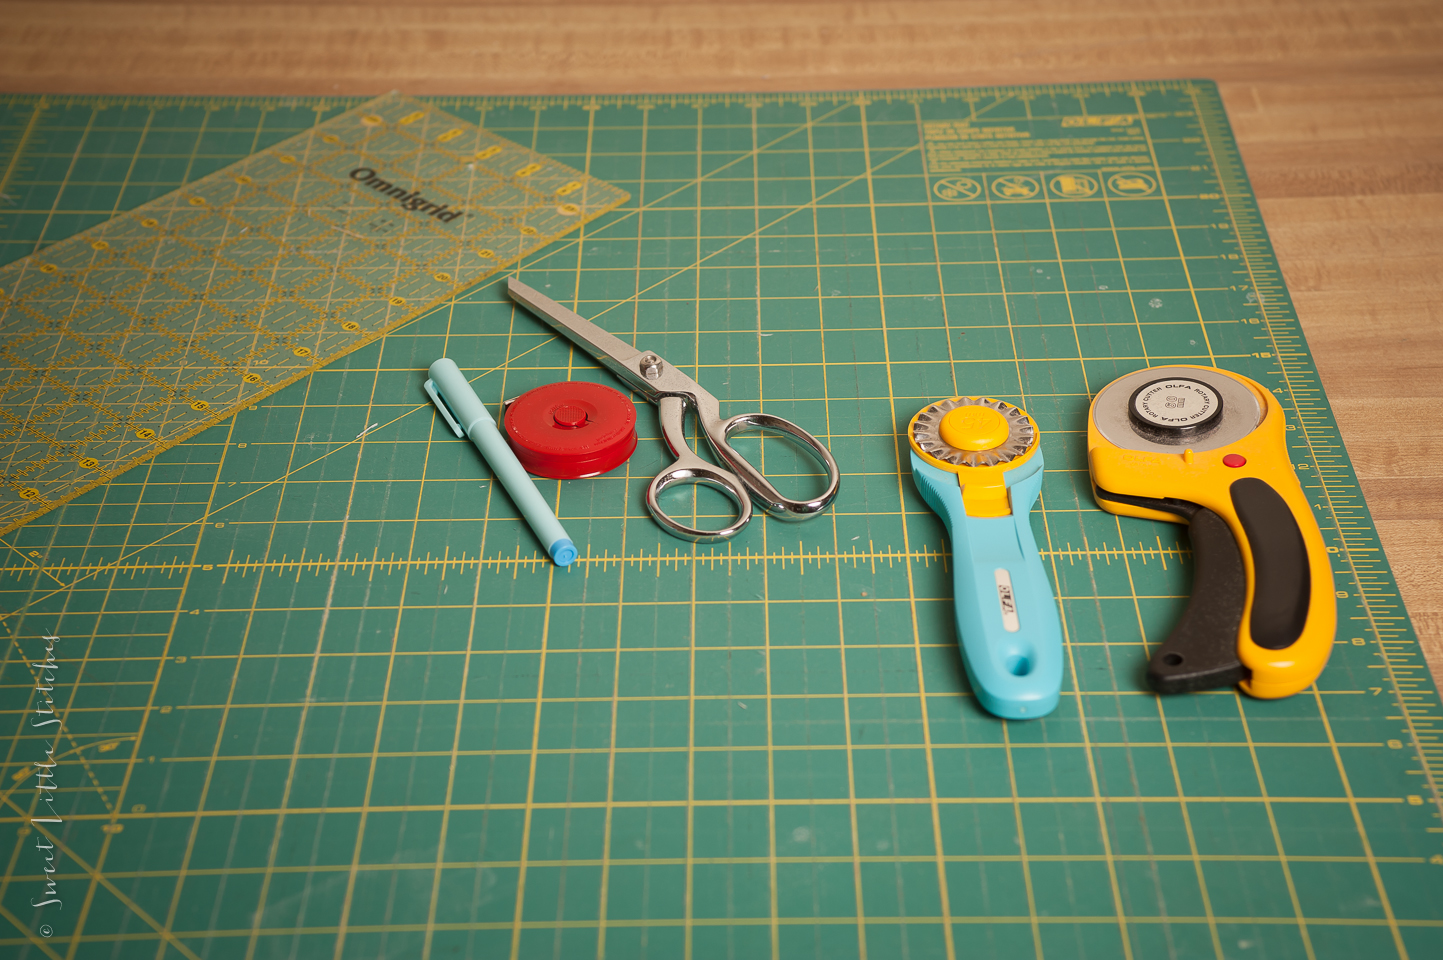
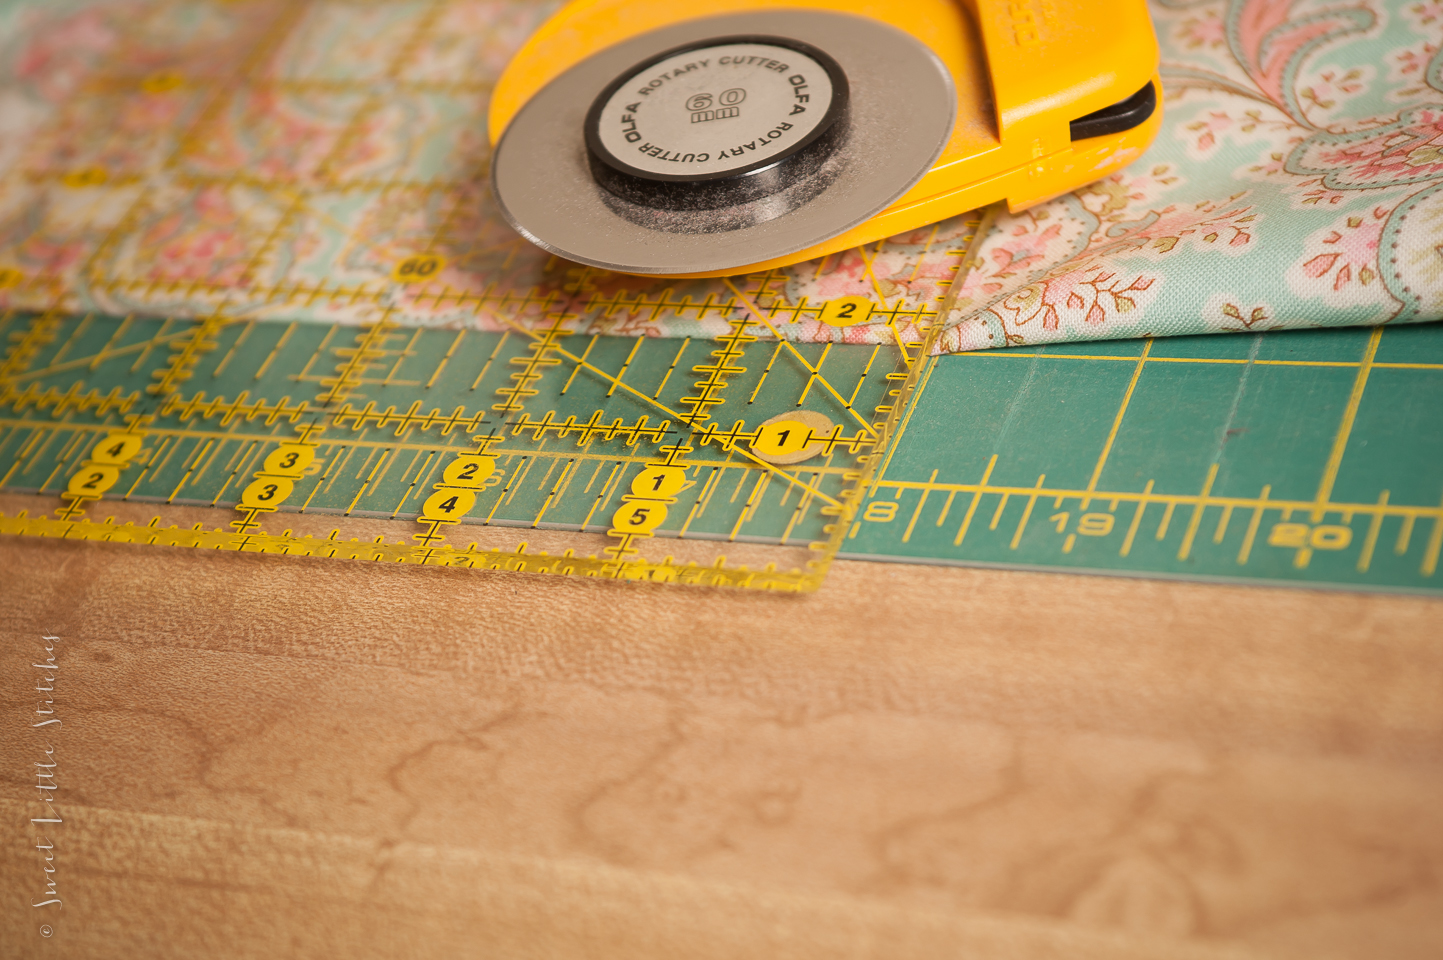
First, let's gather our materials. Nothing too out of the ordinary. You will need a pinked rotary blade, though. Olfa makes one, and it can be found with the quilting notions at your local fabric store. You will also need a standard rotary blade, scissors, a water soluble marking pen, a measuring tape, and a cutting mat and ruler.
If you're unfamiliar with the pinked blade, here is a close-up. It fits on your standard 45 mm rotary cutter. Just insert in place of your normal blade. The end result is like what you would see with pinking shears, except you're using it in your rotary cutter for a nice, straight cut.

You will need 1 1/4 yards white solid for the front of the quilt, 1 1/2 yards for the back (this will leave extra to incorporate in the front of the quilt), and several coordinating 1/8 yard cuts of fabric. Make sure you're buying full 1/8 yard cuts, not fat eighths or fat quarters. You will need the full WOF for this project. You will also need about 3/8 yard for binding. I bought 1/2 yard of my binding print, so I could incorporate some of that into the quilt as well. The inside of the quilt is a crib-sized Warm & Natural. I would recommend a low-loft batting, such as those made by Warm Company or Hobbs. I doesn't necessarily have to be 100% cotton. 80/20 works fine too, but a high loft polyester batt does not lend itself well to this project.

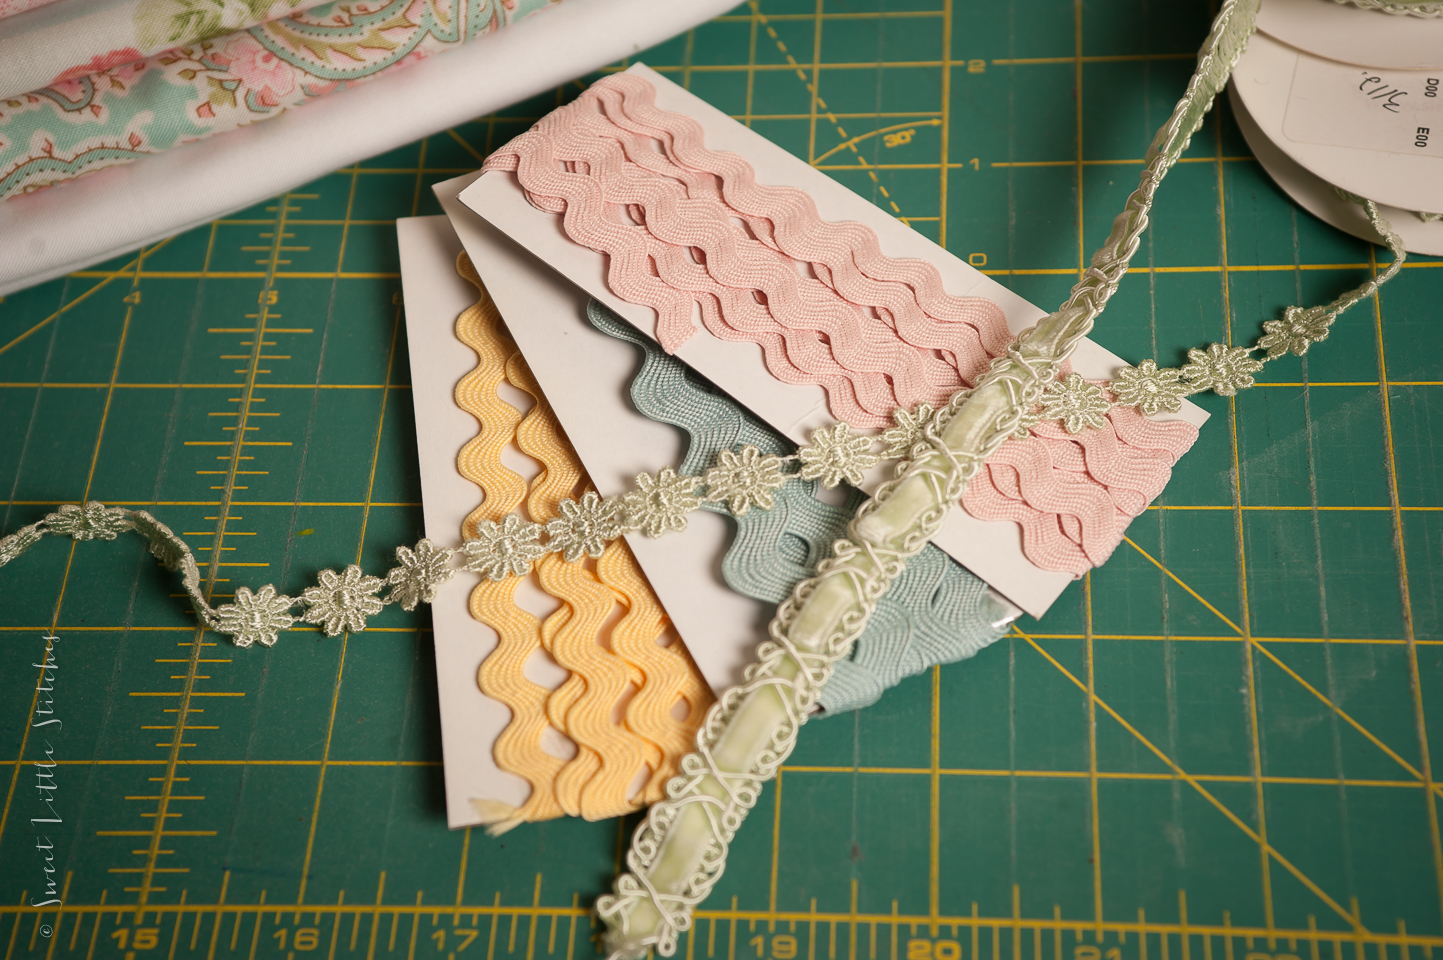
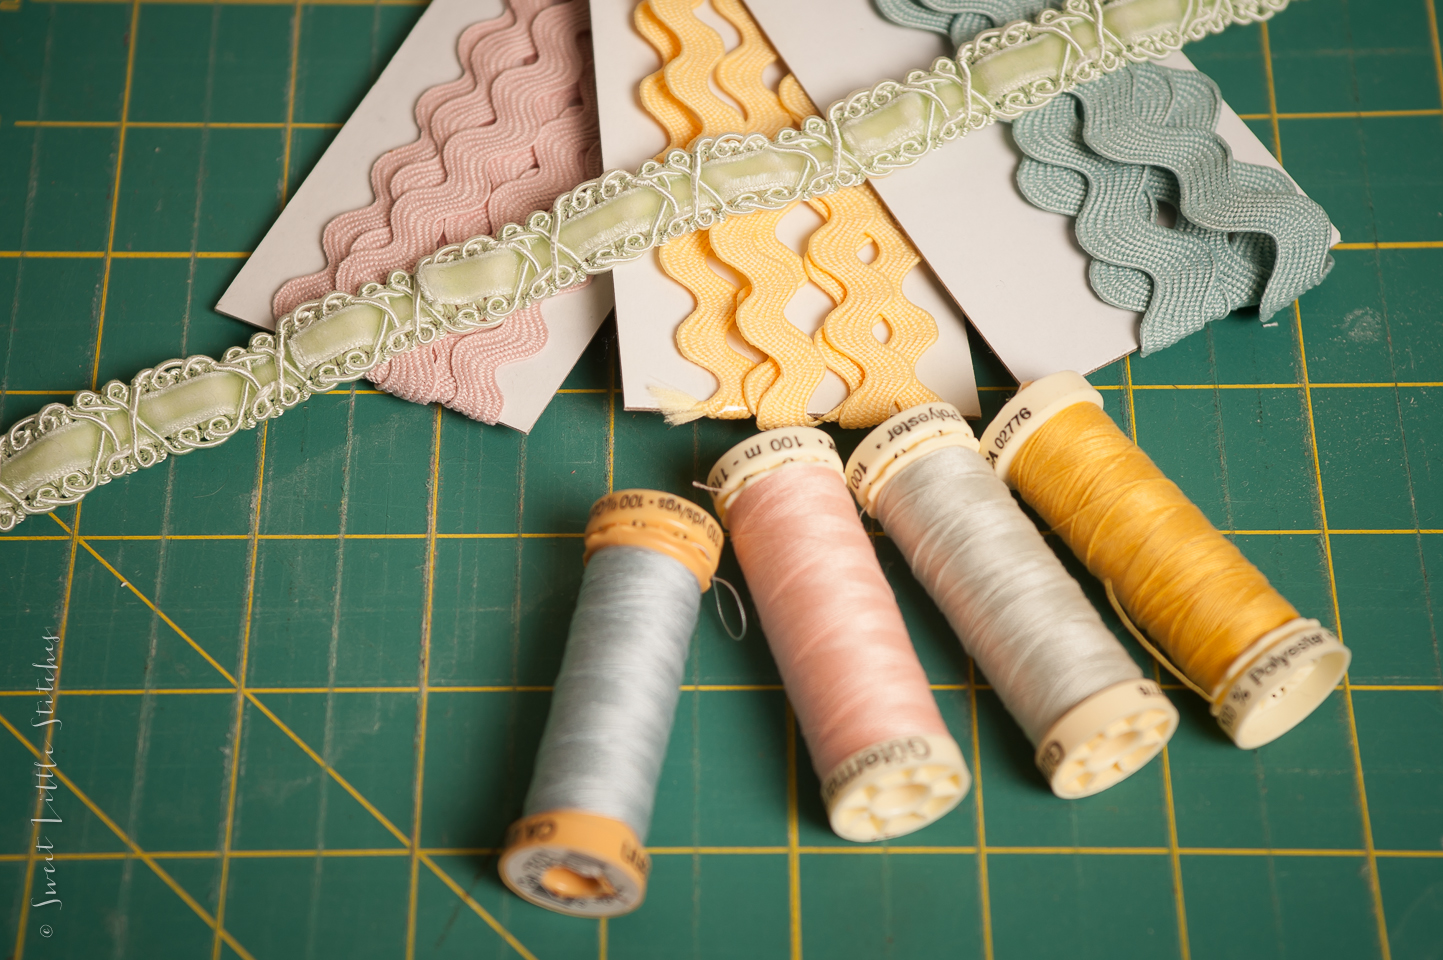
Next, you will need several yards of some fun trims. I chose these deliciously pastel rick-rack trims in various widths, and some sweet floral and velvet trims.
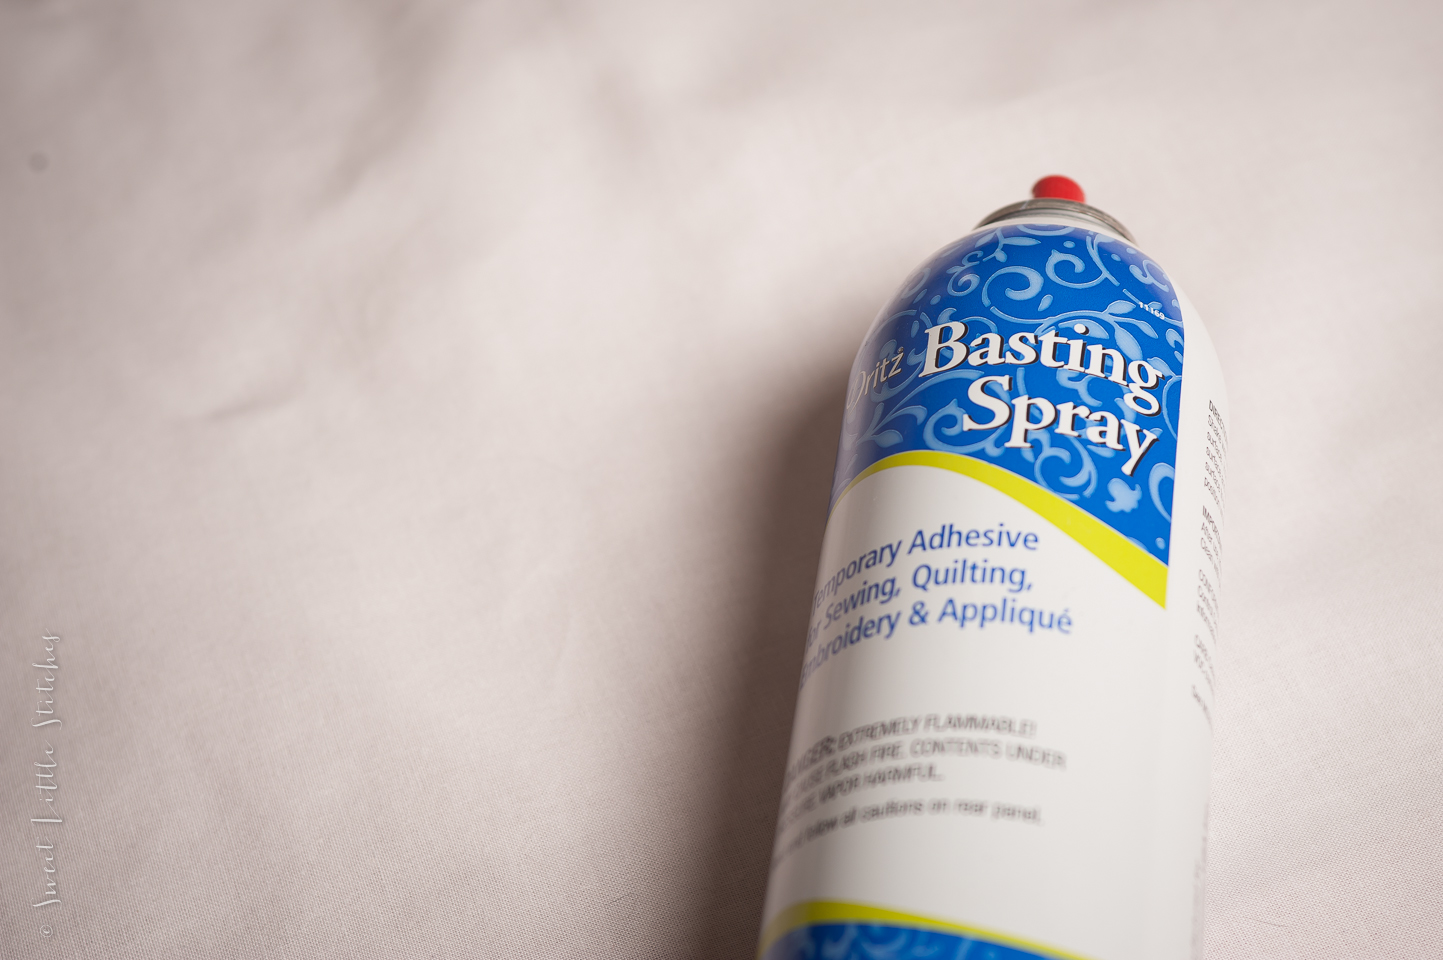
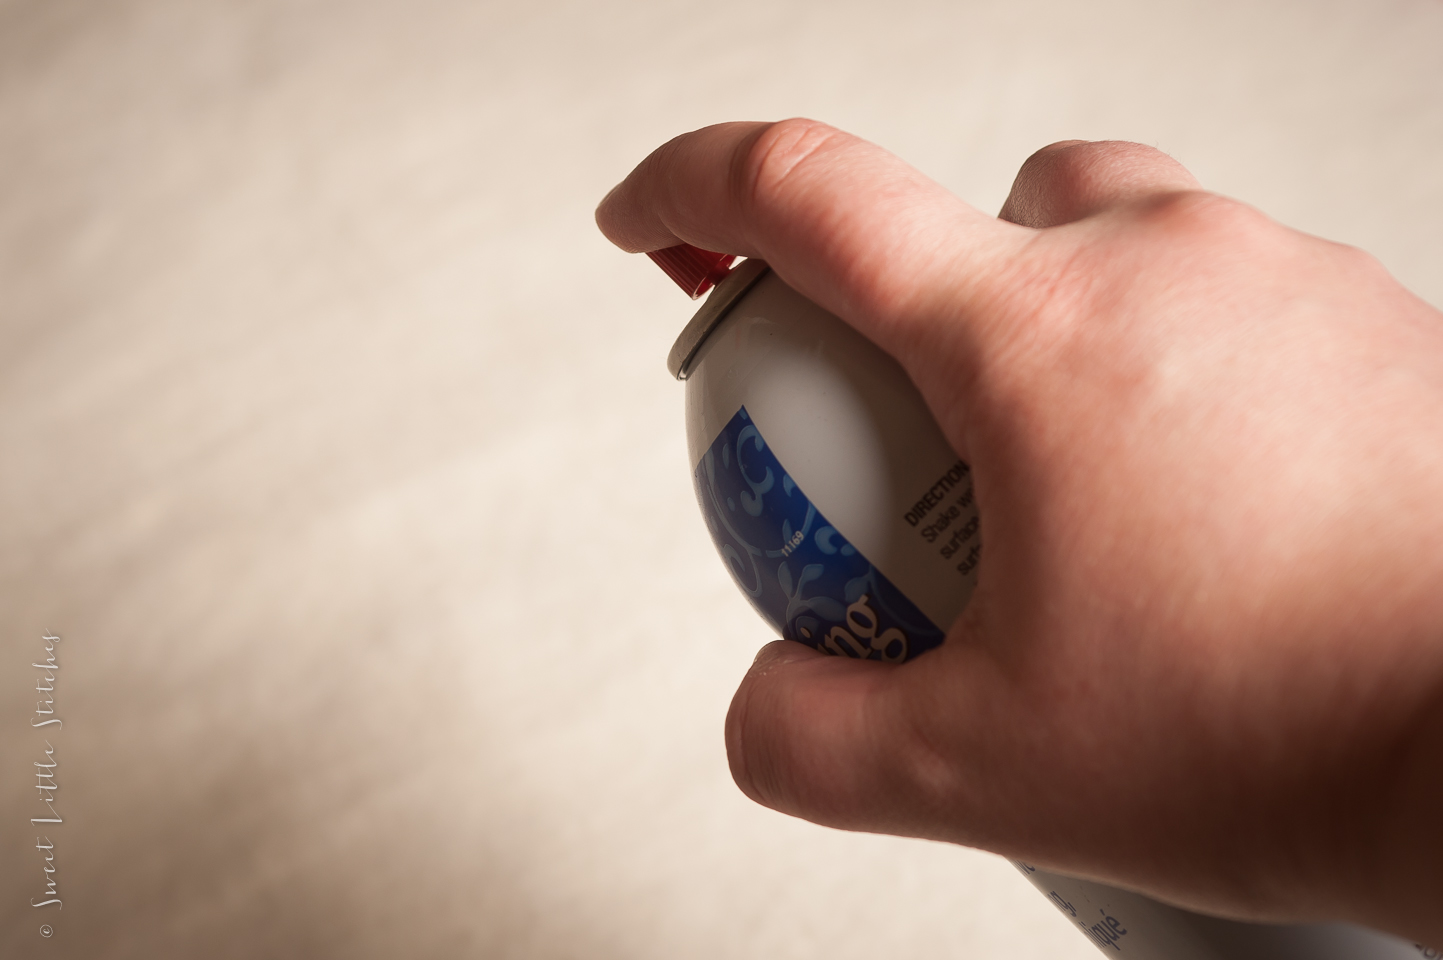
Basting spray is a MUST for this project. I don't typical use it, since I am a long-arm quilter, but for this quilt, it's a necessity. If you've never used it before, it's simply a temporary spray adhesive that we will be using to secure our quilt sandwich together before we quilt it!

Also - not a necessity - but I chose thread colors that coordinated with my various trims, since we will be topstitching. But if you want to use all one color, or a contrasting thread, that will work too.
Now that we've got all our materials gathered, the first step is to cut our top fabric. First, get yourself a nice straight, square-edge.

Once you've got a nice straight edge to work with, use your tape measure and water soluble pen and mark out 40 inches. Using your straight edge and mat, cut your fabric to 40 inches length.

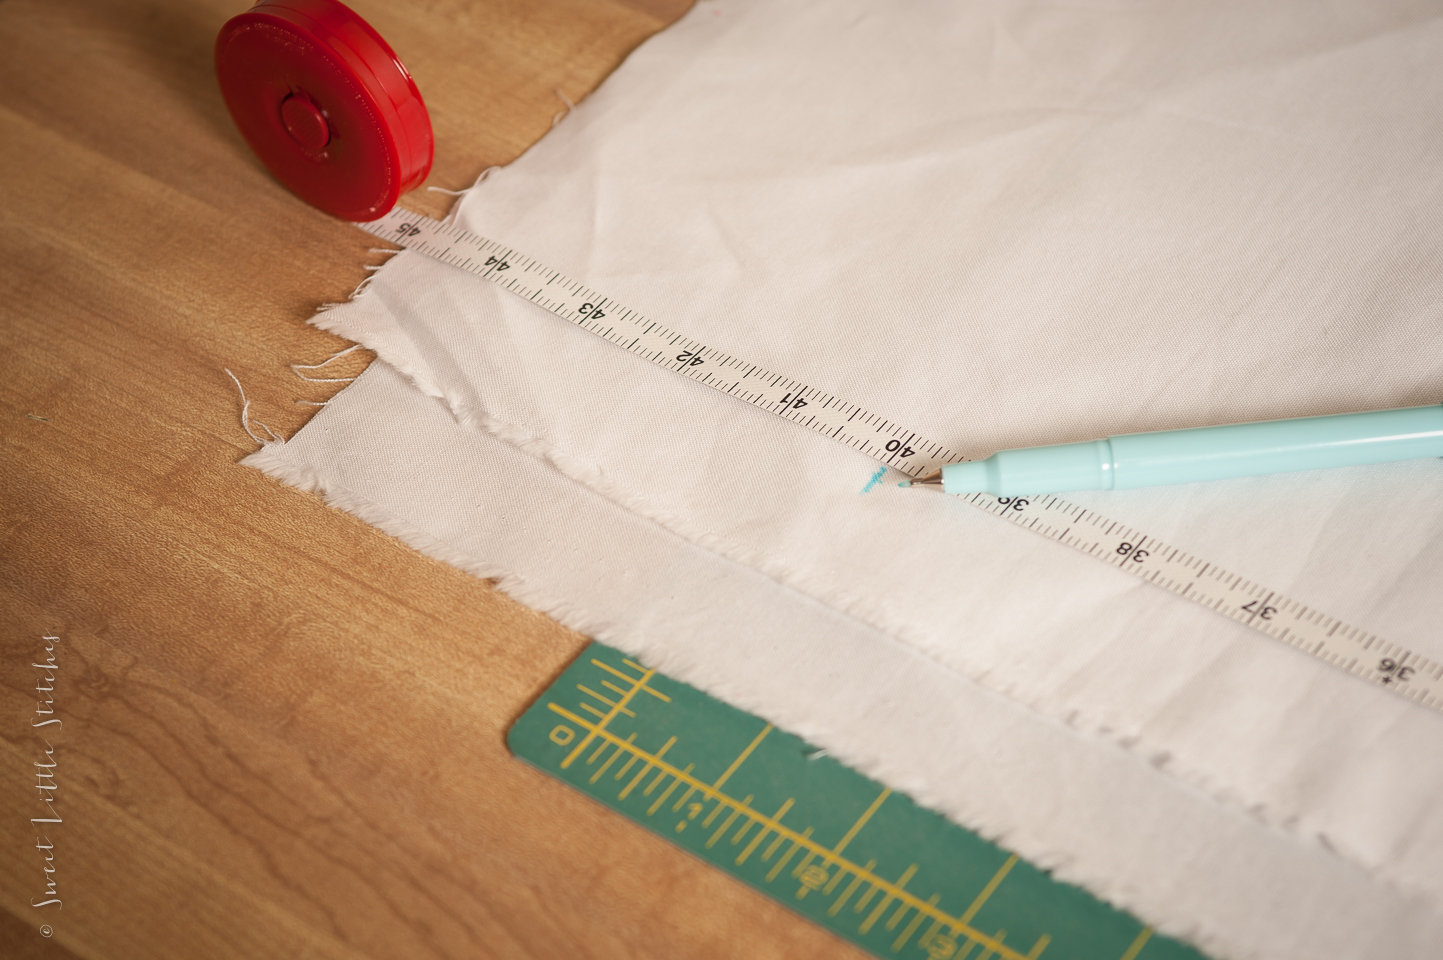 |
| 40 inches. |

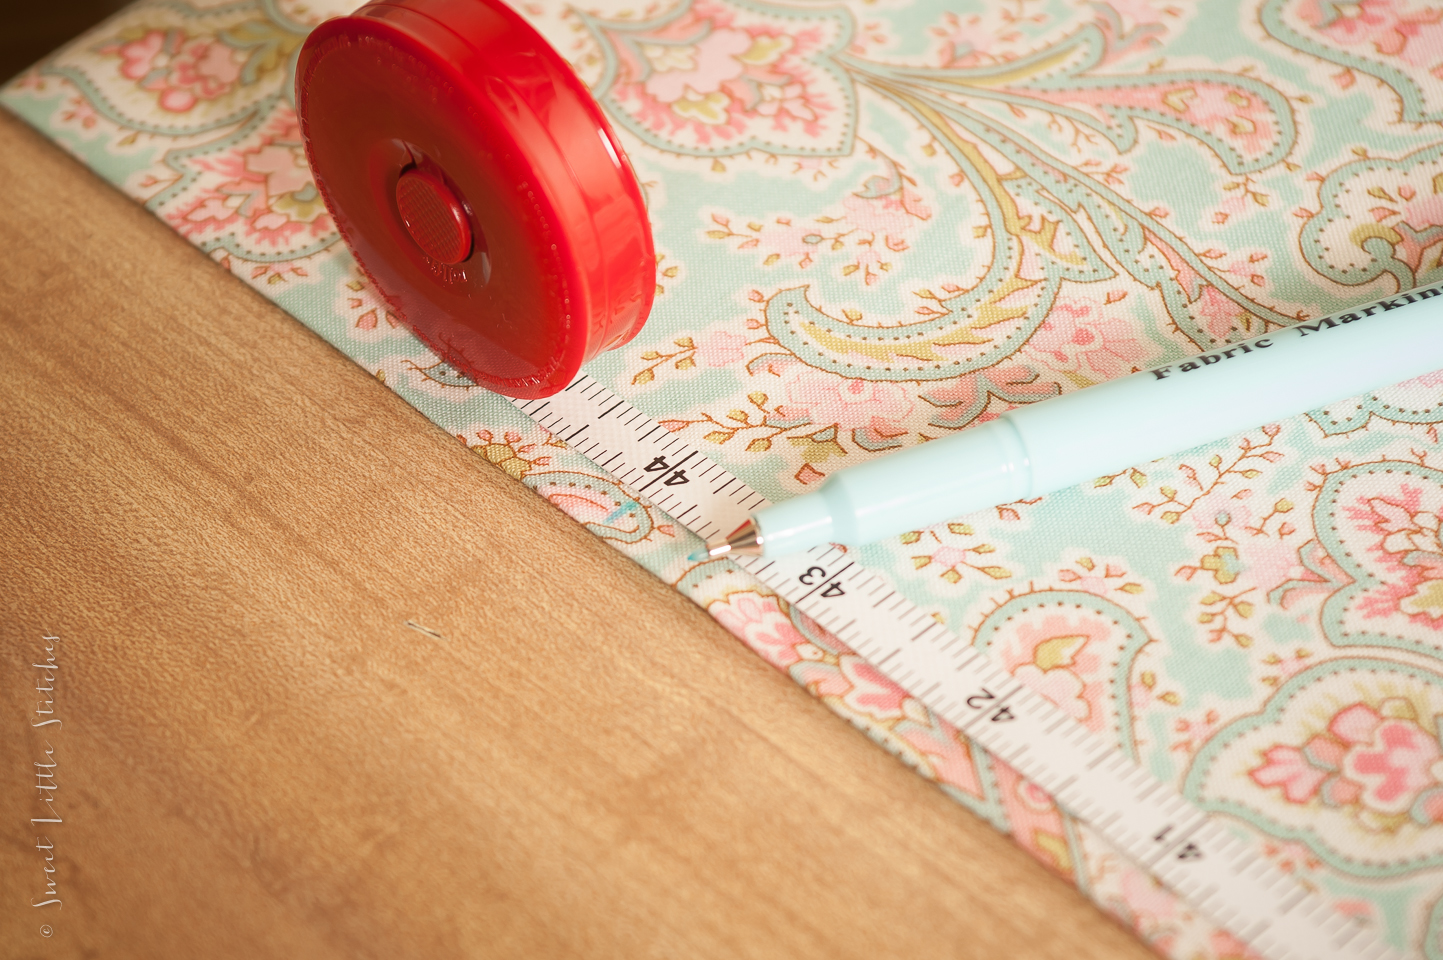
Next, we'll cut our backing fabric. After getting a nice straight edge to start with, use your tape measure and your water soluble pen to mark 44 inches.
After you've cut your backing 44 inches long (if you've purchased 1 1/2 yards, you'll have leftover fabric to include in the quilt top), leaving selvedges touching, fold in half with selvedges to the right of your 18 inch mark. Once your backing fabric is nice and straight, align your straight edge with the 18 inch mark and cut. When unfolded, you will have a 36 x 44 inch piece of backing fabric.
Now comes the handy dandy basting spray. We will be starting with our top piece of fabric.

Make sure you protect whatever surface you are spraying on. I just used a cheap vinyl tablecloth from the Dollar Tree.
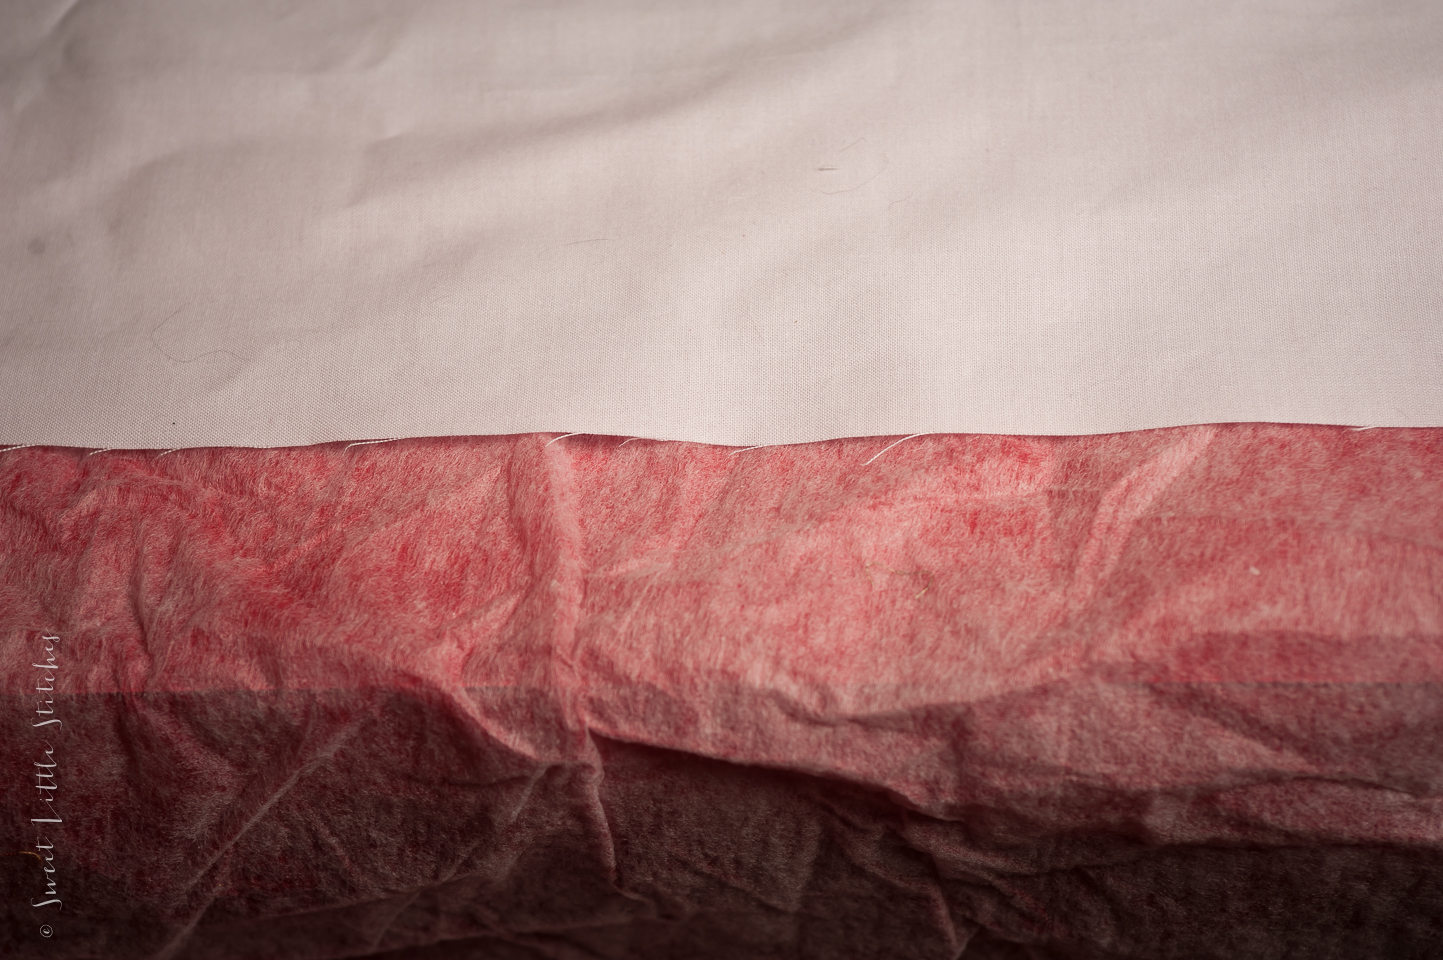
Lightly spray the entire back side of your top piece of fabric.
Lay batting over the top piece, taking care to smooth out any wrinkles as you go along.

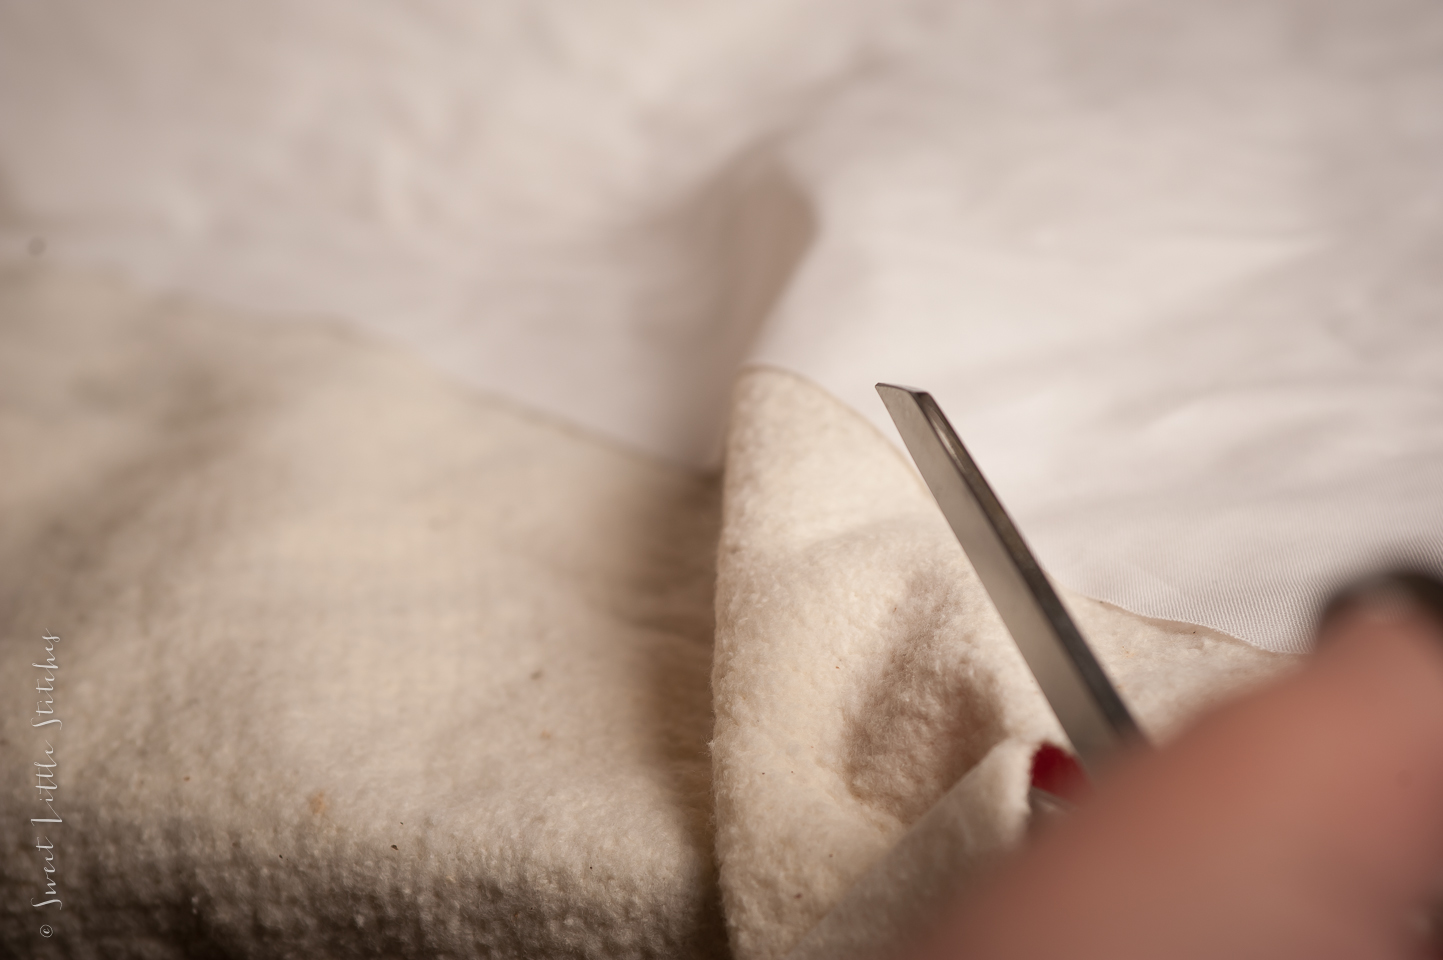
Trim batting, leaving about an inch of excess on all sides.
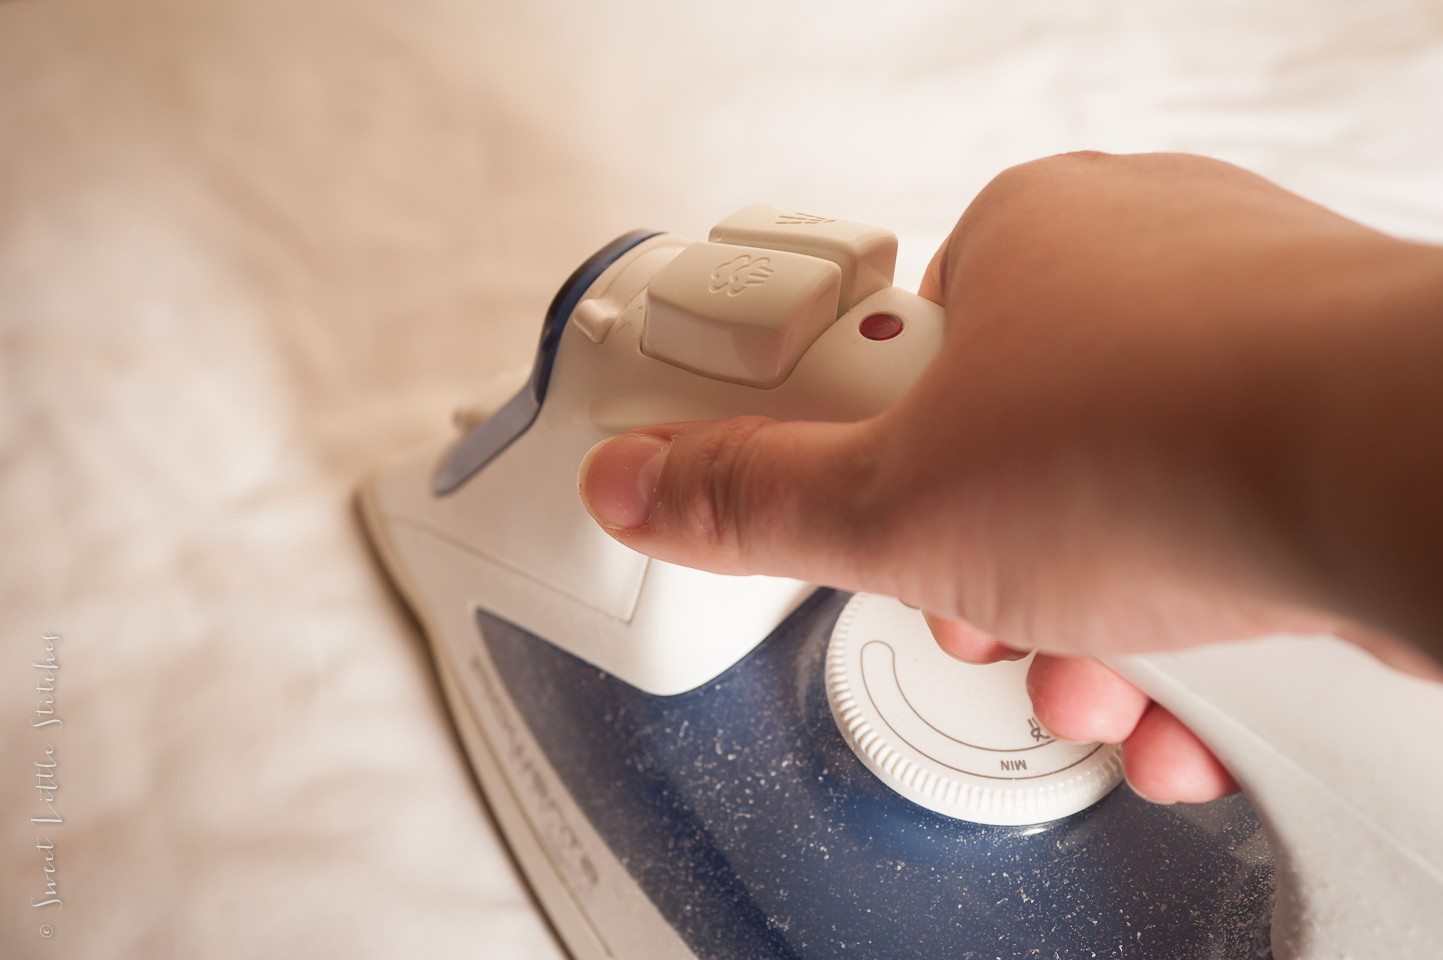
Next, I like to smooth out the top with a hot, dry iron. This also helps to "set" the adhesive.
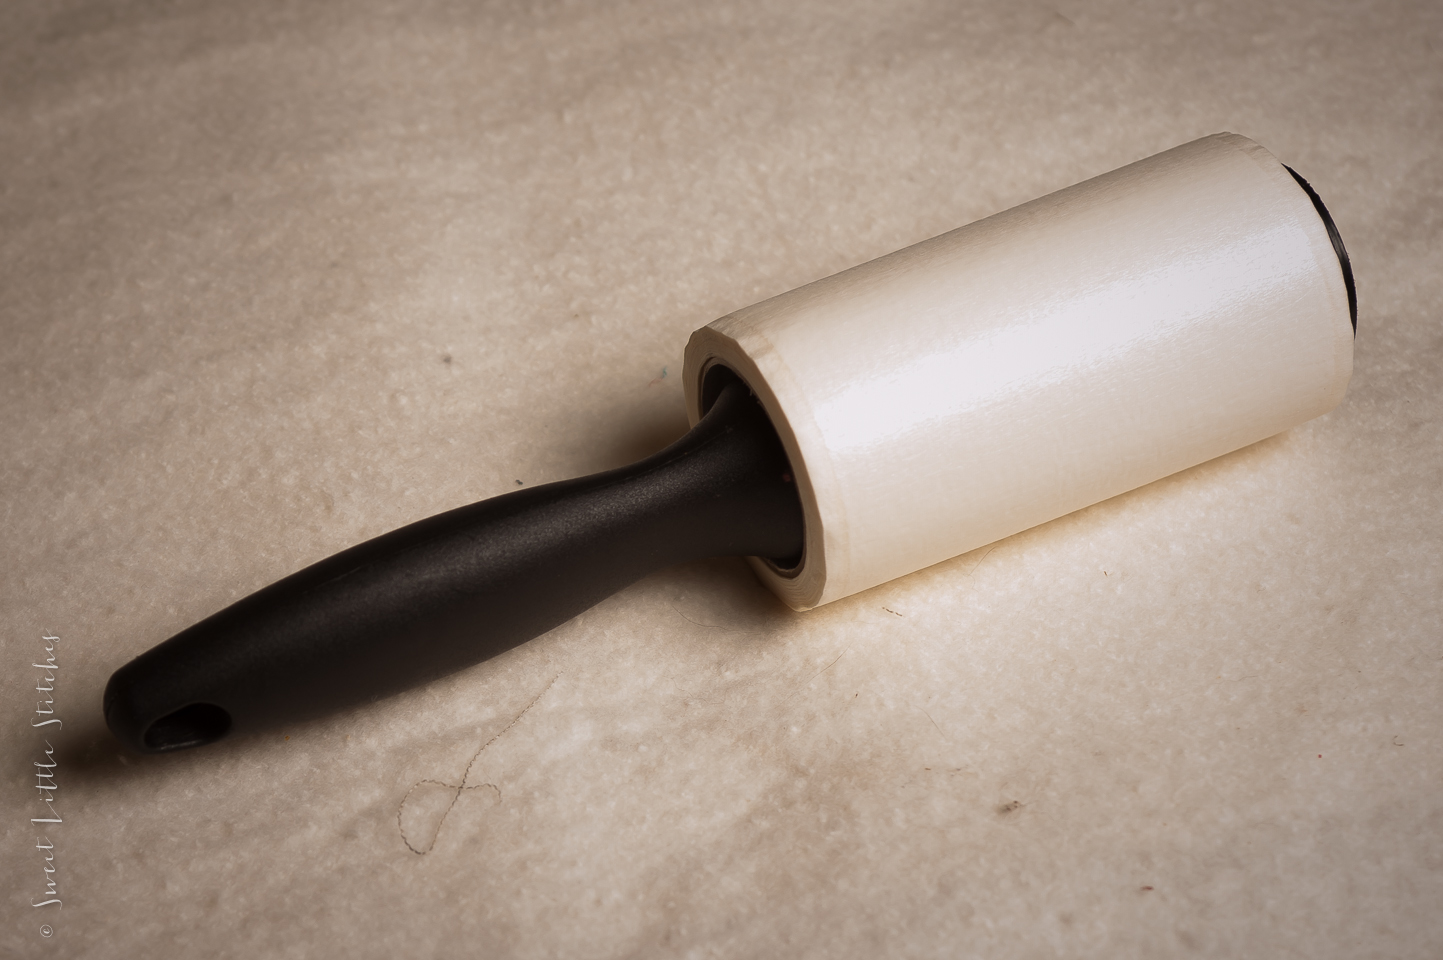
A little tip: I like to run a lint roller over both the backside of my quilt top and backing fabric, and over both sides of batting. This helps eliminate any stray threads or debris.
Then, spray the back side of the quilt batting with the basting spray.
Lay the backing fabric on, just like you did, the top, and then press to smooth (I somehow missed a picture of this step. But you're smart; you'll figure it out.). That wasn't so hard! Now comes the fun part!
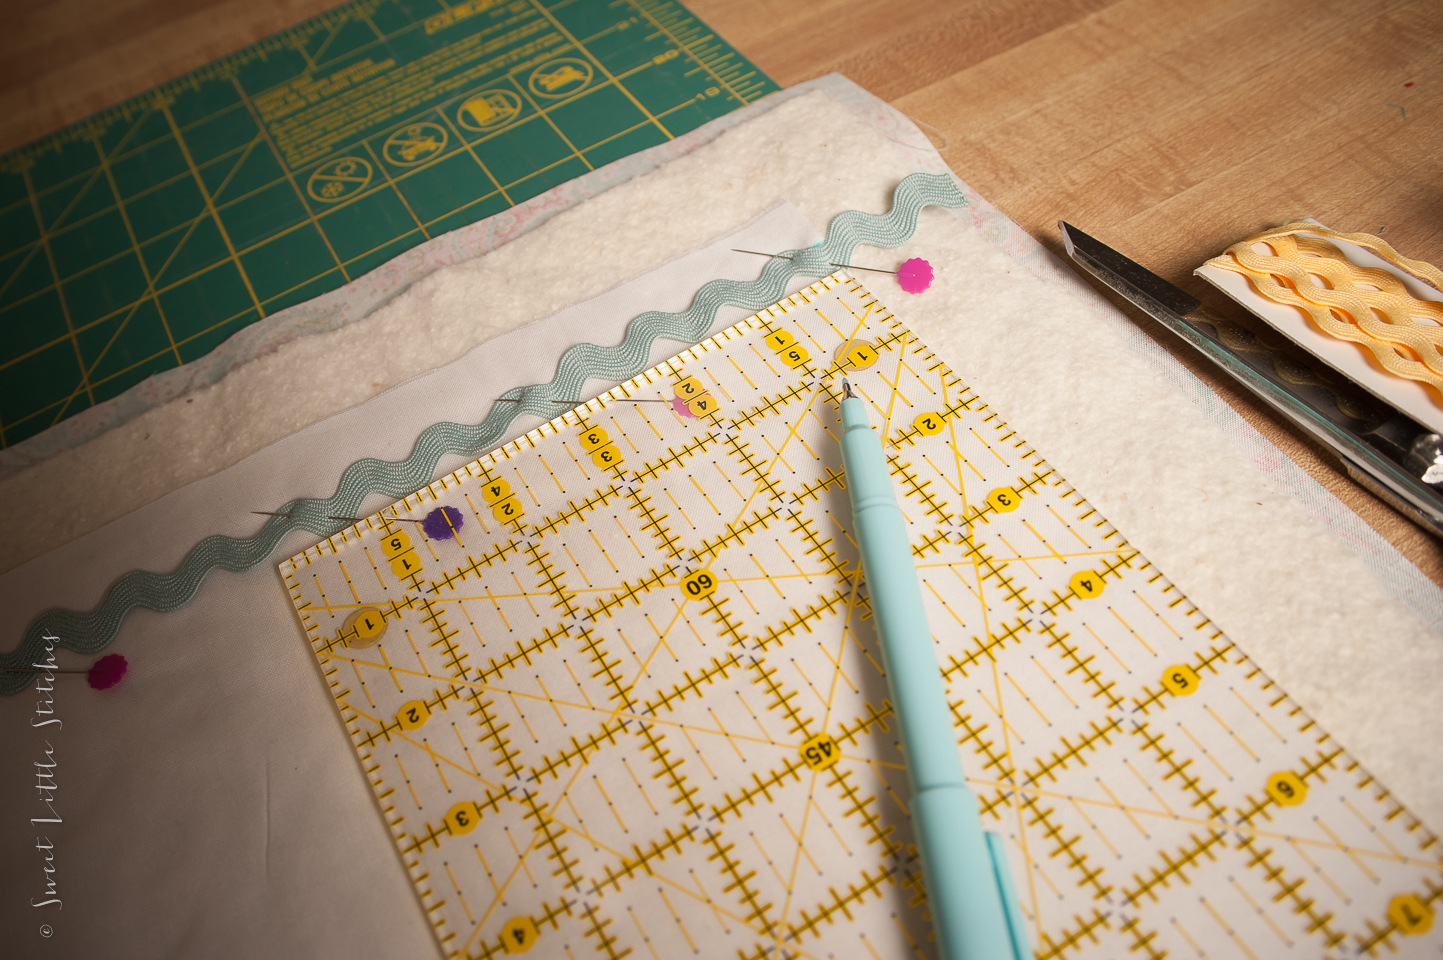
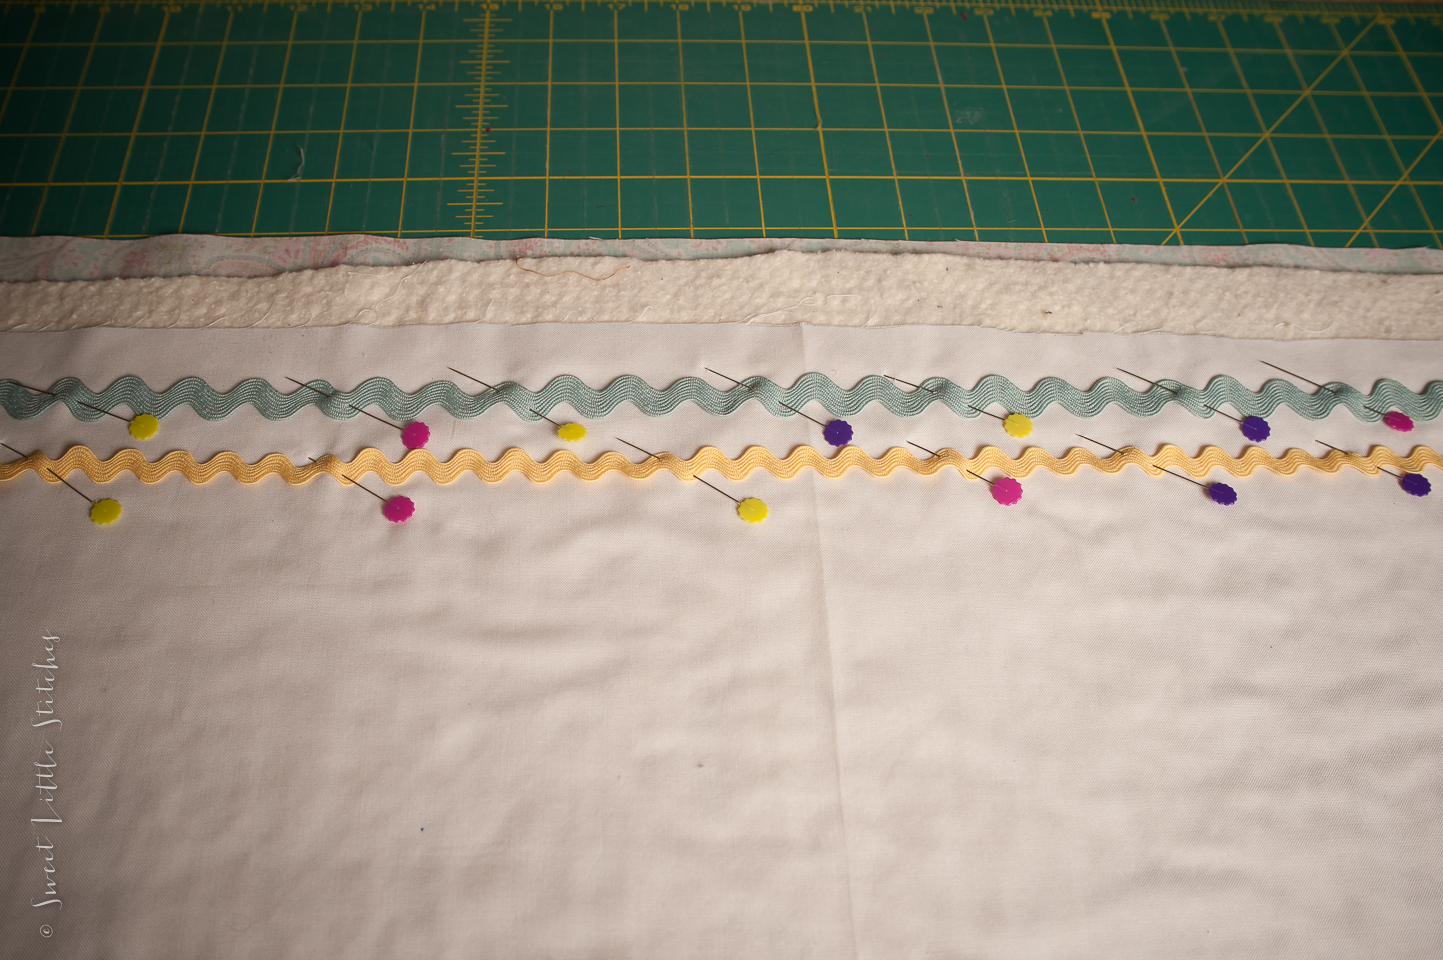
So that all of our strips lay nice and straight across the quilt top, I like to mark where each one starts. I like to start my first strip about 3/4 inch down. Take your trusty water soluble pen and mark 3/4 inch from the top on the left and right side.

Choose a trim to start with, and line up with markings you just made. Pin to the quilt sandwich leaving a small tail on either end.
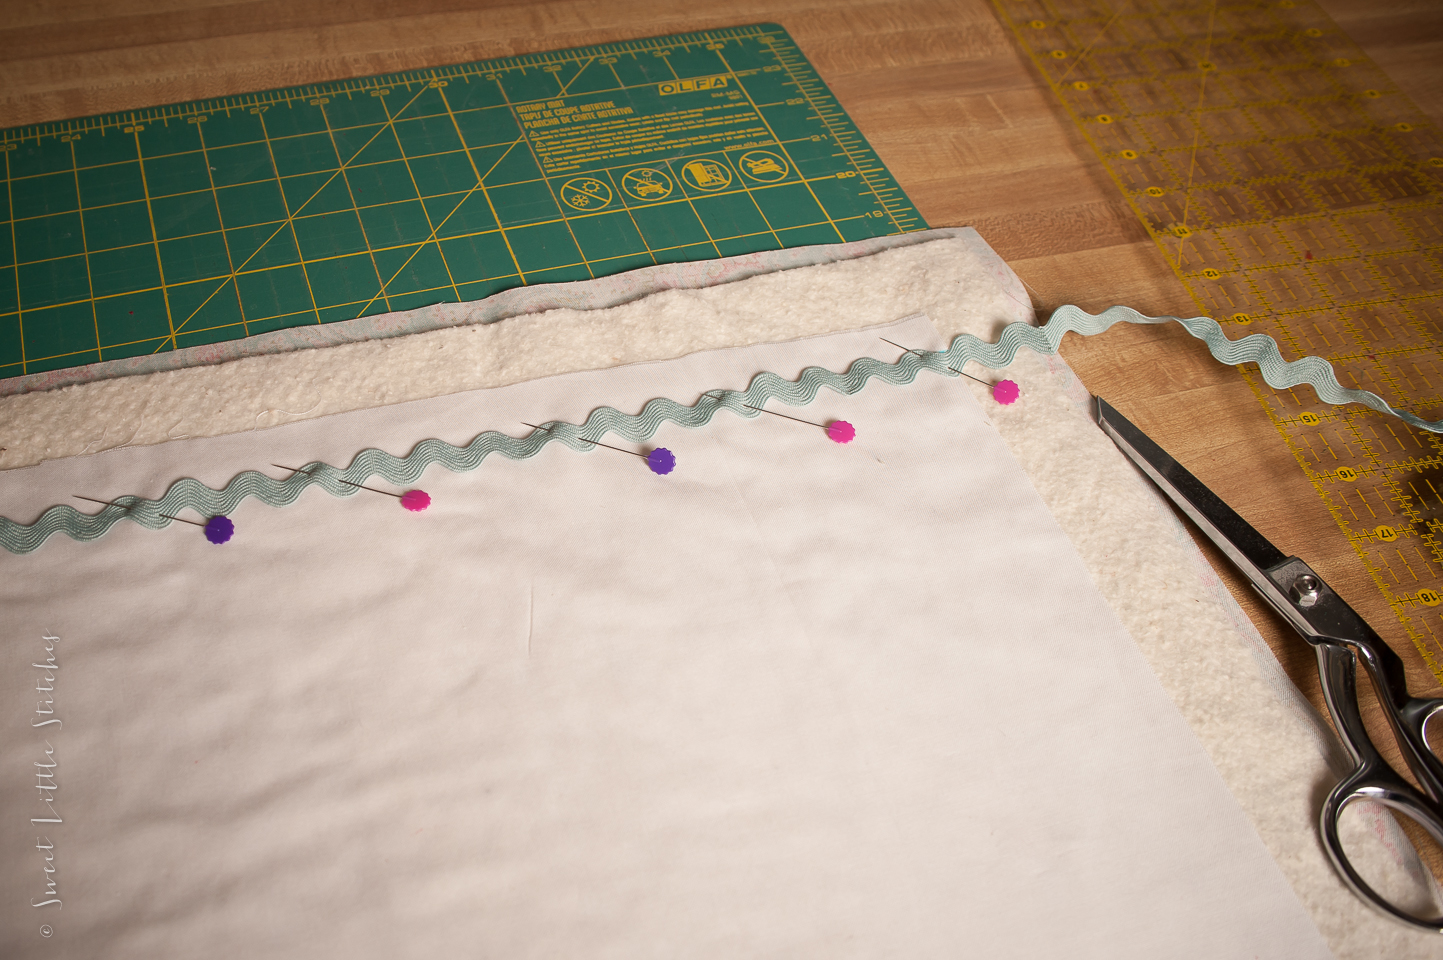
Measure 1/2 inch from the bottom of your first strip, and mark on both the left and right side again. You can change up the measurement between each strip for variety. Or you can keep it the same. It's your quilt!
Pin your next row on, trying to keep it roughly the same distance from the first and lining up with the markings you made at either end.
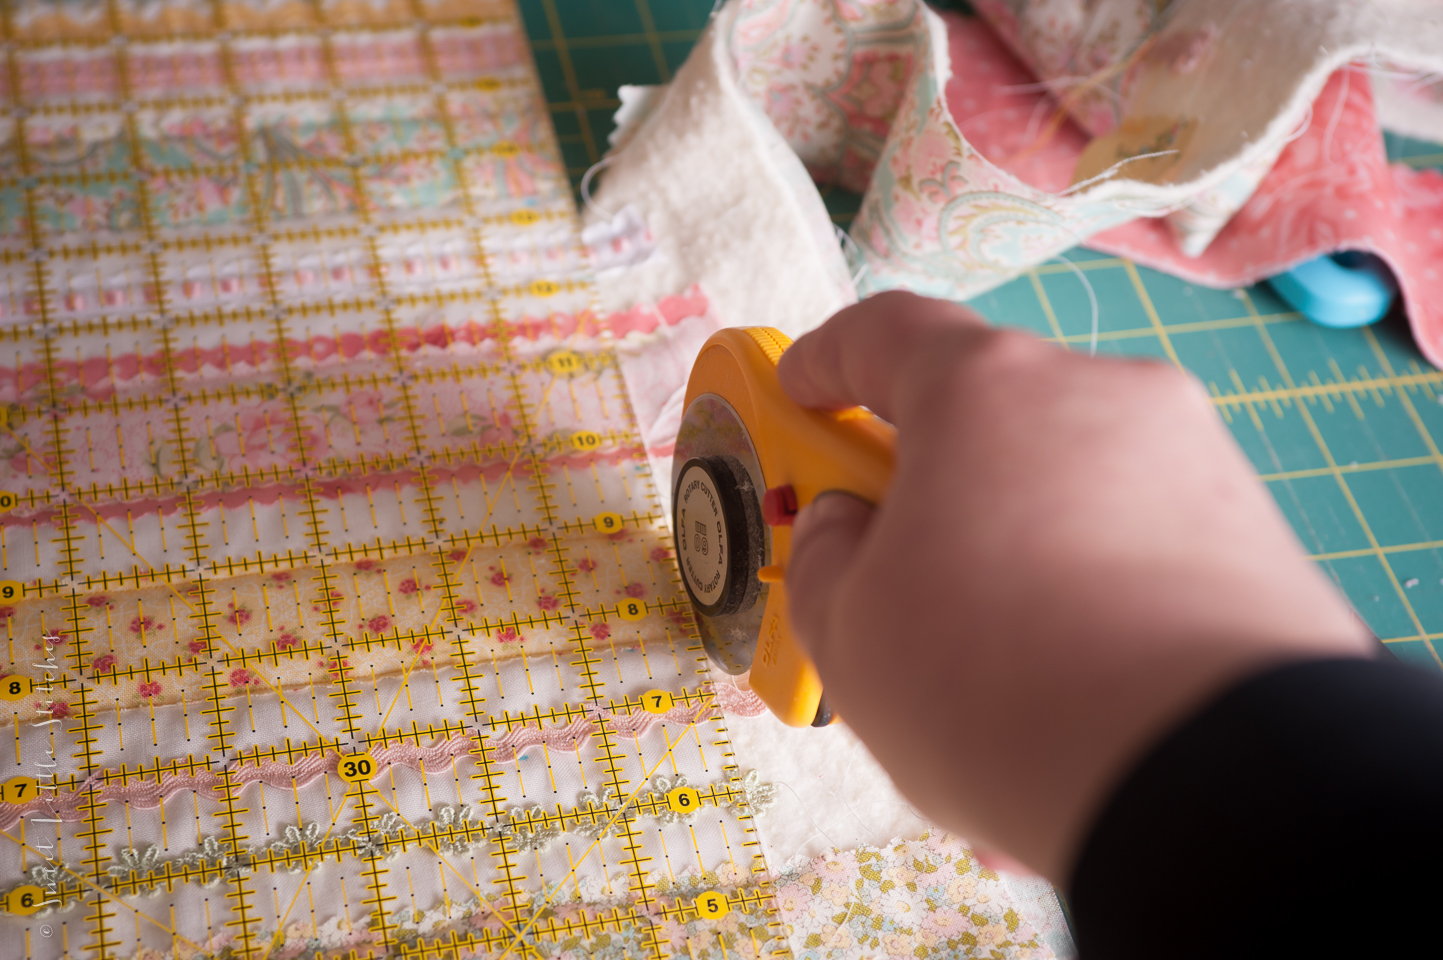
Now to throw in some strips of fabric. This is where I use the pinking blade. We're going to leave the edges raw when we attach it to the quilt, and this keeps them from becoming too frayed. Plus, it looks really cute! It works exactly the same as your regular rotary cutter blade, but it produces a pinked edge. Cut several strips of various widths from each of the coordinating fabrics. Pin to the quilt in the same manner as with the rick rack. Continue on with the assortment of trims and fabrics measuring in between each row, until the entire quilt is filled, and making sure to leave about 3/4 inch to an inch between the last row and the bottom.

Now to stitch the strips to the quilt. This is where it becomes "quilt-as-you-go." No additional quilting!!! I like to stitch by colors. That way I don't have to switch my thread for every single row. If you're only using a single color for the whole quilt, then you don't have to worry about switching threads.
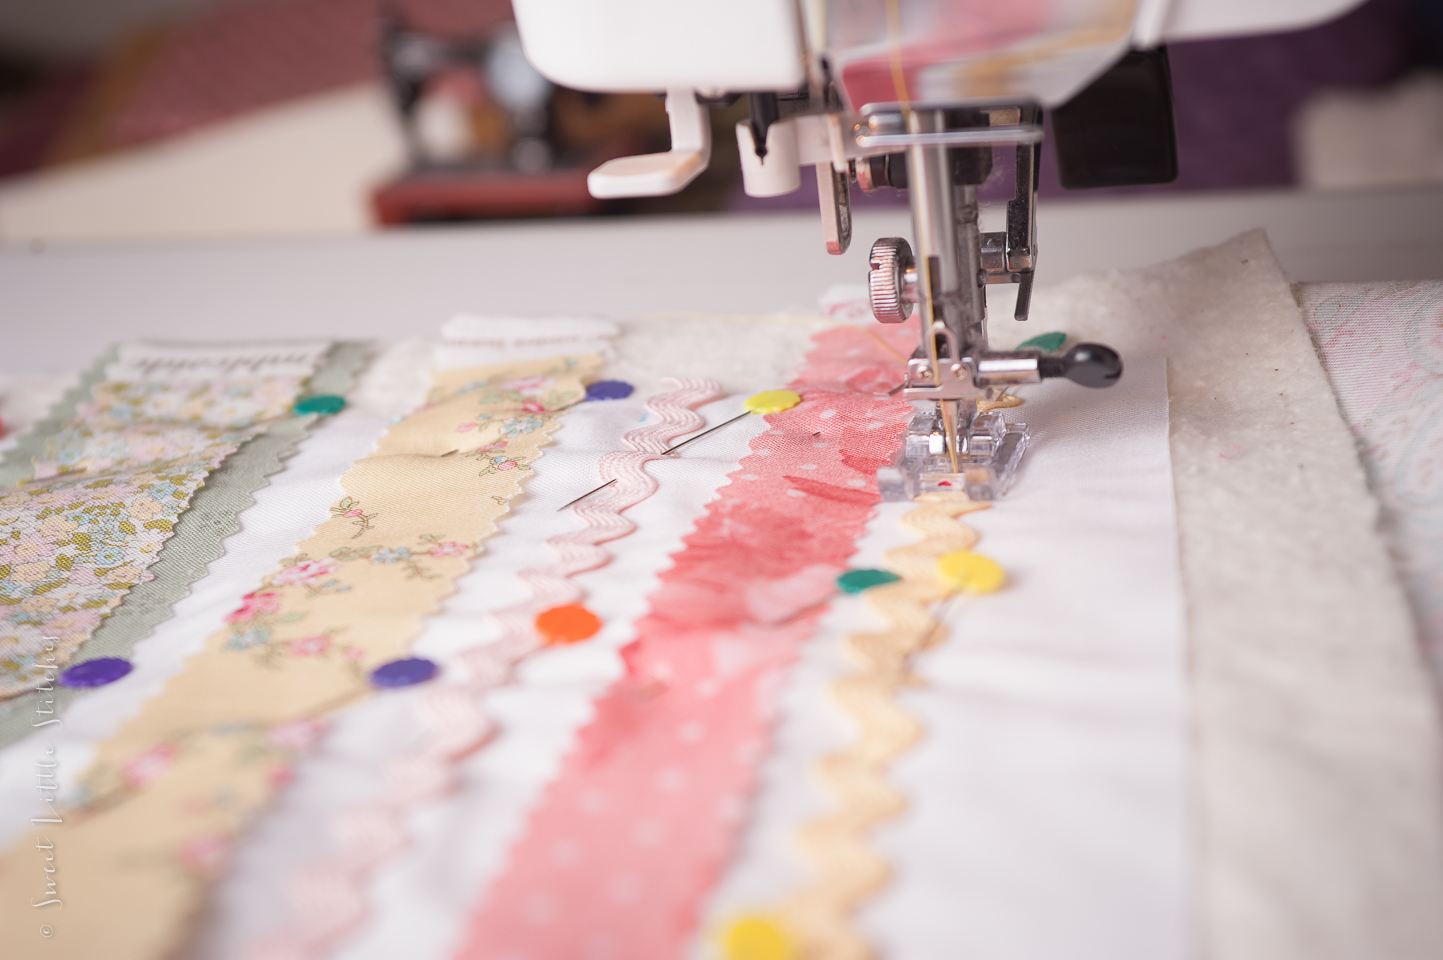
For the fabric strips I like to stay fairly close to the edge. And notice for some rows, I even layered a more narrow strip on top of a wider one.

I continue with each of the colors until they're all sewn to the quilt.
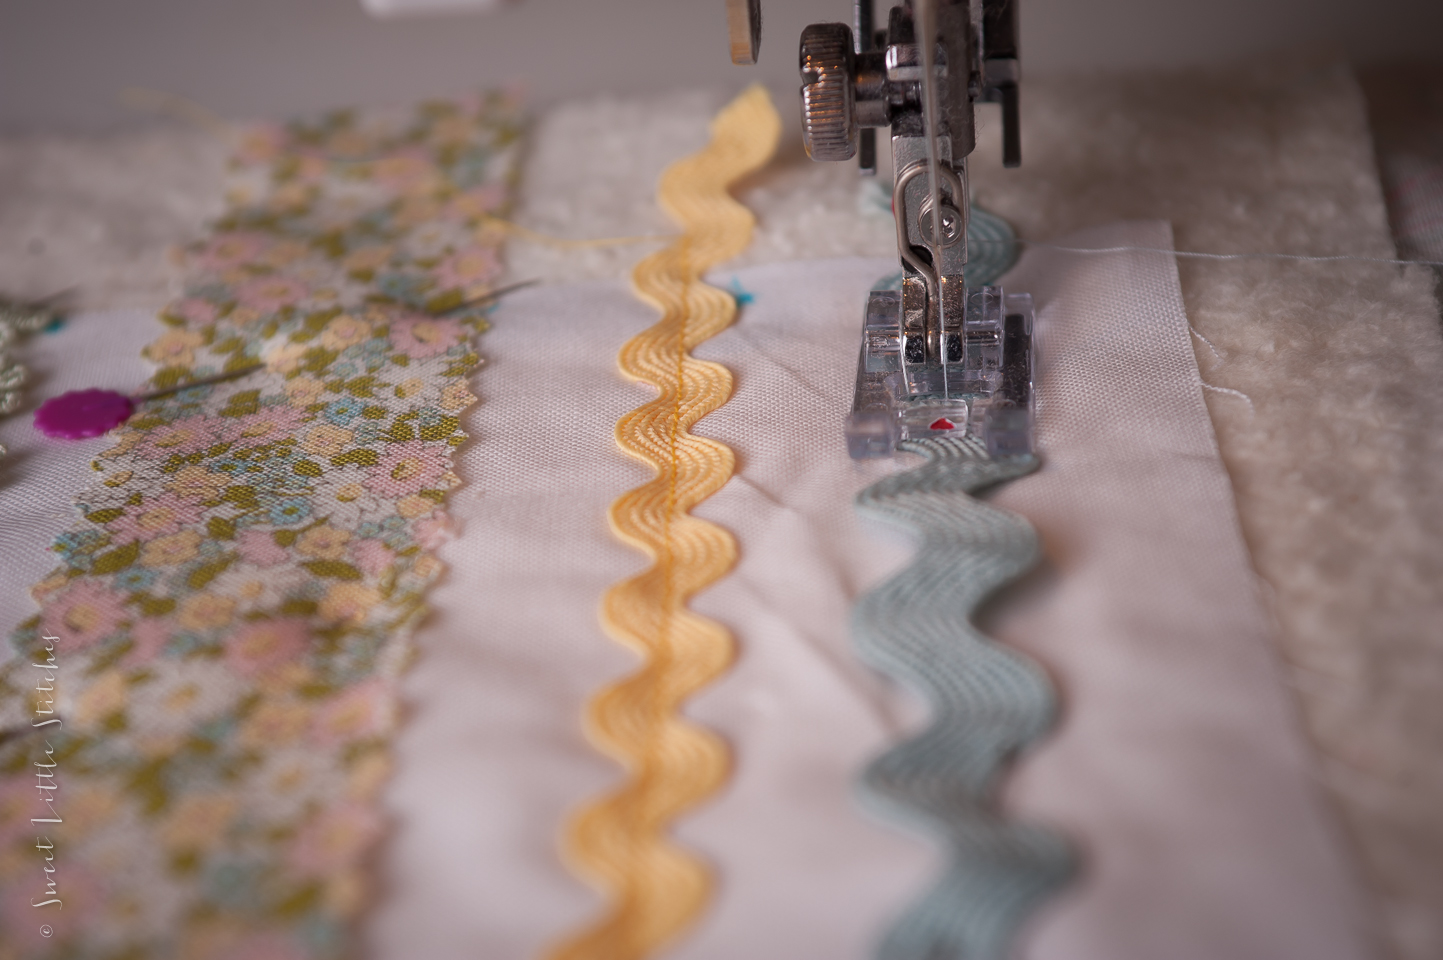

Some of the trims were more textured than the others and I had to bust out my walking foot (also called an even-feed foot). If you've never used one, it has the same little grippy things (really technical, I know) as the feed dogs on the underside of the foot, so that both the top and and bottom of your quilt are being evenly fed through the machine. If this looks different from your walking foot, it's because some Janome machines have a new feature called an AccuFeed foot. It's kind of a special, pull-down even-feed foot. It's pretty handy.


Once you've sewn down all your strips, trim all the excess from the edges of your quilt and square it up.
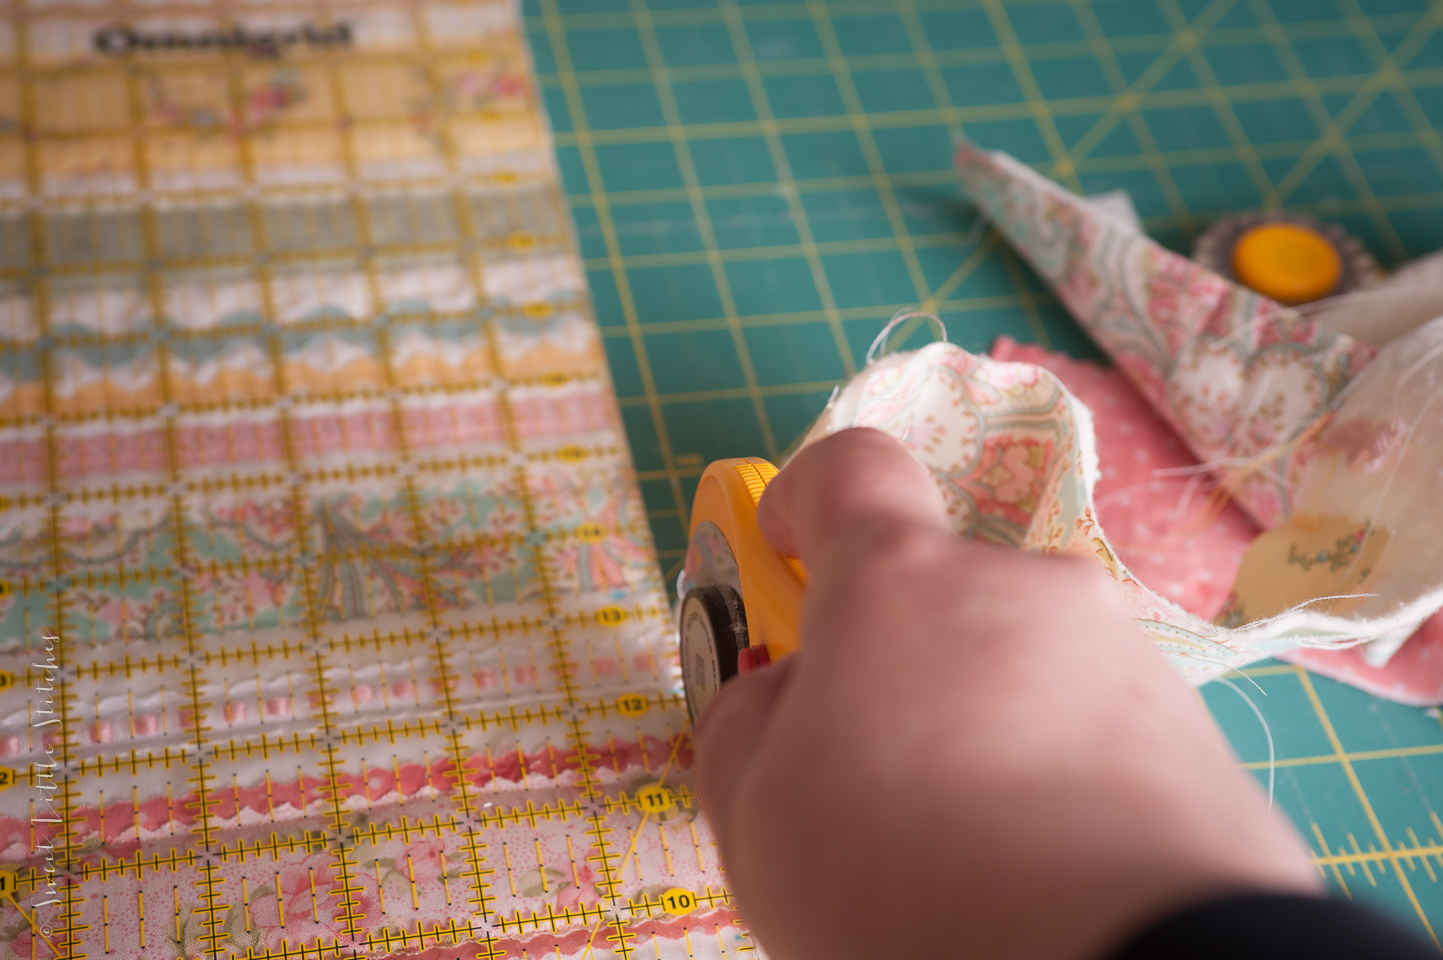
Then, using the fabric you've set aside for binding, bind the quilt using your favorite method.
And it's kind of become my signature move to hand embroider a personalized label for every quilt I make. This one is no different. I heard once that a quilt has no value until it's signed or has a label. I don't know if this is true or not, but I never make a quilt without a label now.

Like this tutorial? Please leave me some love and share with your quilty friends! Thanks :)